In this post, you’ll make a yoga website in 10 minutes.
Gone Are The Days When You Need To Pay A Web Developer Loads Of Money To Make A Beautiful Looking Website (Pssst, I Am A Web Designer). You Can Do It Yourself In 10 Minutes With These 3 Steps!
Are you ready to make a yoga website? If so, you can either watch the video below or read the blog (or both).
Table Of Contents
Part I: Get Domain & Hosting From BlueHost
Part II: Install Astra Theme & Plugin
Part III: Edit The Demo Content
Optional Step: Business Email Address
Optional Step: Get A Logo In 5 Minutes
Optional Step: Use A Domain Registrar
Optional Step: Install WordPress Via cPanel
The Tools I Recommend When Setting Up A Website
The Tool I Recommend When Creating Yoga Lesson Plans
Part I: Get Domain & Hosting From BlueHost

Hosting and Domain are the only two things that you need for launching your yoga website. Hosting is the place where your website’s files get stored and the domain is the name of your website.
Step 1: Go To BlueHost
I recommend a hosting site called BlueHost. All you need is their “shared hosting plan” which is currently £2.83 per month. There are lots of hosting providers on the market, but BlueHost is a good choice for someone setting up their first website.

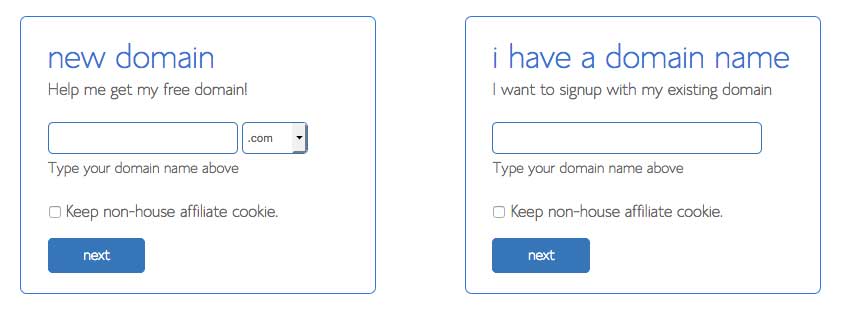
Step 2: Domain Name
Register your domain, or buy a new domain. A domain is the URL of your site. Think about it, because you can’t change it later. All BlueHost plans include a free domain, so there’s no need to buy it elsewhere.
Step 3: Package Information
Enter your contact information and extra you’d like to purchase. While you can get the extras later, I recommend ticking the “Site Backup Pro” checkbox. You don’t want to lose all your work.

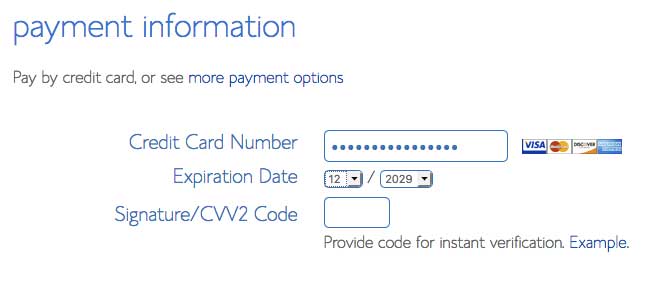
Step 4: Make Payment
Just remember that BlueHost charges you for the full 36-month agreement, upfront, similar to most hosts.
BlueHost will find recommendations on more domains available for you with a different extension (e.g. .com, .org, etc). I never purchase any of them, but if you’re worried that someone will create an online business with the same name, you might want to purchase the name extensions. Though there are a lot of extensions these days, so if you’re not going to be the next Nike or Amazon, then don’t waste your money on these extensions.
Step 5: Password
You will be asked to select a password that you’ll be using to log in to your website.
Step 6: Install Your Own
You can either select a theme that Bluehost offer, or install your own. I recommend you choose “install your own”.
Step 7: Start Building your website on WordPress
Here you can choose to either:
- Start Building your website on WordPress
- Go to your Bluehost account (cPanel)
It’s quicker to choose the first option. If you pick the first option, your WordPress dashboard will look like the screenshot below.

Step 8: Launch Your Site
You can choose to launch your site or display a ‘Coming Soon’ page and launch whenever you’re ready. You might as well choose “launch your site” because it will take a few months for the website to start getting clicks on Google (so you don’t have to worry about someone seeing your unfinished site).
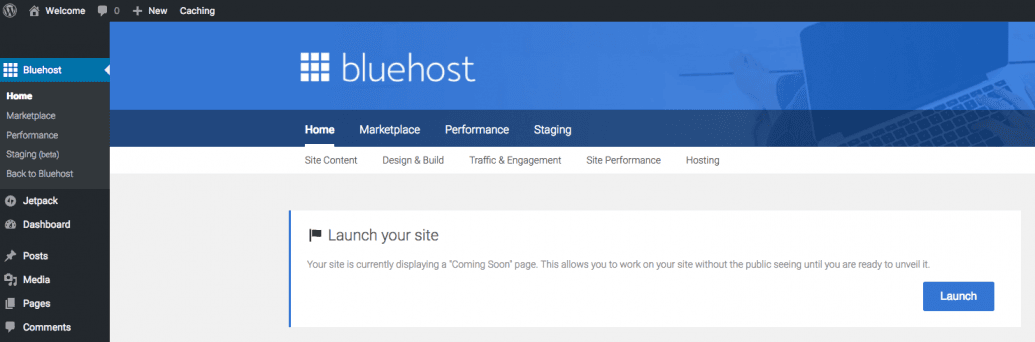
Step 9: Bluehost Dashboard
When you’ve launched your site you’ll see the “Welcome” dashboard (see screenshot below). Click the “Log Into WordPress” button.

Your website will have a default WordPress Theme. You can change it, by going to the next step.
Part II: Install Astra Theme & Plugin

The Astra theme is regarded as one of the best WordPress themes. It’s filled with pre-made website designs with demo content, which is the reason why you’re able to get a website up and running within only 10 minutes!
Step 1: Go To Themes
To install a new theme go to “Appearance > Themes”, and click “Add New” (see screenshot below).

Step 2: Type “Astra”
Type Astra into the search, mouse over the image, and click the blue “install” button (see screenshot below).

Step 3: Install the Astra Plugin
This plugin has a set of designs for your website, which you can choose and then apply to your site.
Go to “plugins”. Click the “Add New” button. Type Astra into the search box and click “Install Now” for the plugin called “Start Templates – Elementor, Beaver Builder, Gutenberg & Brizy Templates” (see screenshot below).

Step 4: Choose A Design
To choose the designs, click “See Library”.
Before you select a design, make sure you click Elementor to make it easy for you to edit the design. Choose the design and import it to your site. Once, you’ve got the design with its demo content, you can edit the demo content.
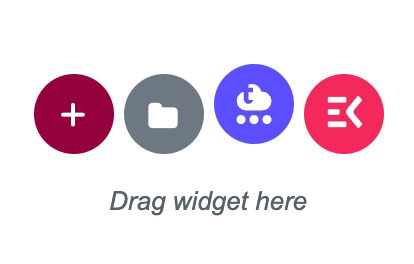
You can also choose designs directly from the new page by clicking on one of the four icons (see screenshot below).
Part III: Edit The Demo Content

Editing a page is very easy.
Step 1: Click “Elementor”
To edit a page using Elementor, go into the page that you want to edit and click “Elementor”, to be taken to the editing section. On the left side of the page, you’ll see the Elementor section, where you drag elements into the page (e.g. heading, image, text editor, etc). See screenshot below.

Step 2: Edit text
To edit text, select it (you’ll see a blue line around the text), and type anything you want. You can type the text directly into the page (the area with the blue line around it), or into the Elementor section on the left side. The screenshot below shows me editing this text.

Step 3: Change images
Option 1: If the image is within a “Text Editor”, select the image from within the Text Editor Elementor section (on the left side), delete it, and upload a new one.
Option 2: If the image is within an Image Elementor section, you can select the image directly from the page (right side), and upload a new one.
You can use Pexels.com to get royalty-free images for your pages and posts (see screenshot below).

Step 4: Header & Footer
If you want to edit the header and the footer area of your website, click ‘Customise.’ After you click, ’Customise’, you’ll see some blue icons on the page. To edit anything, like the logo or the menu section, just click the blue icon and make your changes.
Step 5: Create A New Page
To create a new page, you can use three methods:
(1) Create YOUR OWN page by dragging and dropping elements using the Elementor page builder plugin.
(2) Use PRE-MADE designs using Elementor templates (or templates within the Astra theme).
(3) Duplicate a page by using the “Yoast Duplicate Post” plugin. This plugin will duplicate posts and pages (see screenshot below).

That’s it!
Congratulations. You’ve just effortlessly launched your yoga website. Though, you’re not going to make any money until you add an online booking system, which is the next step.
Optional Step: Business Email Address

To create an email address you’ll need to go into your cPanel. This will have been provided to you when you purchasing your hosting plan.
Step 1: Log into cPanel
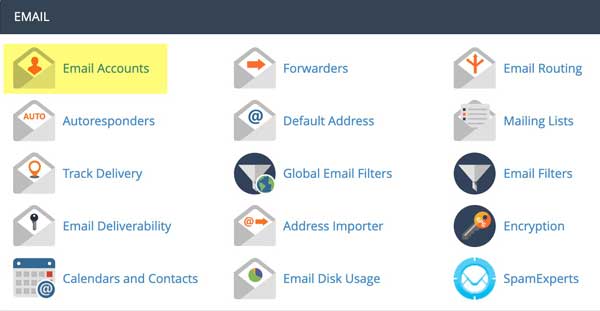
Step 2: Go to Email Accounts
Go to cPanel >> Mail >> Email Accounts (see screenshot below).
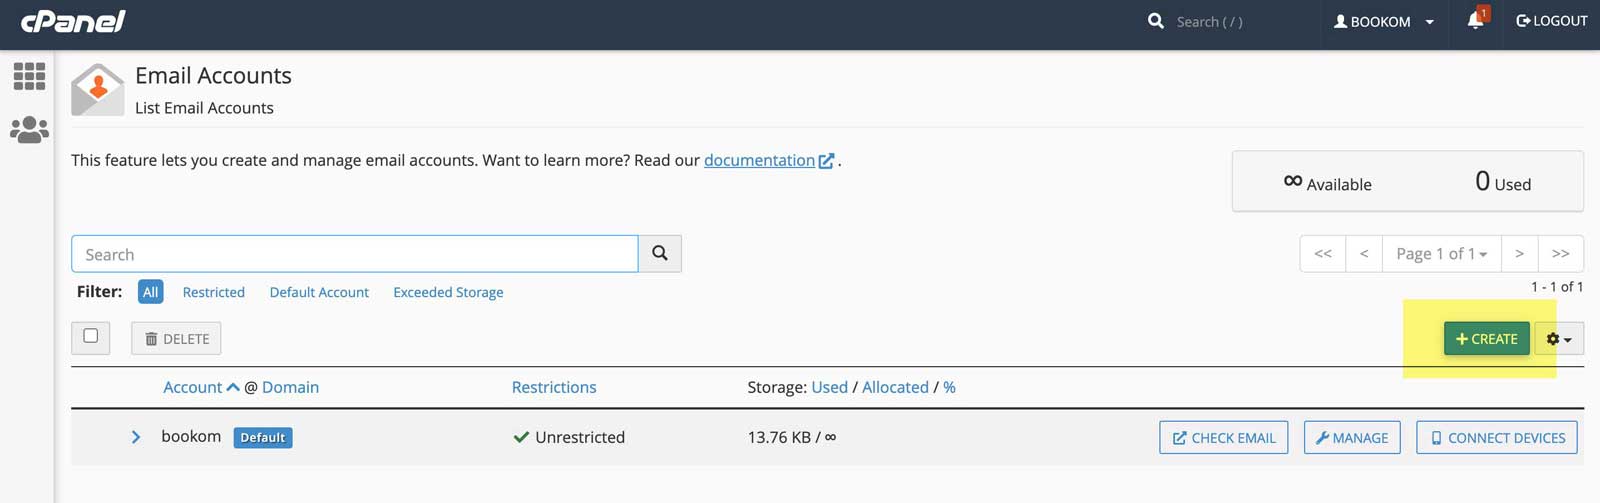
Step 3: Click Create
Click the blue “Create” button on the far right (see screenshot below).
Step 4: Username & Password
Add your username (e.g. mail or your first name) and password, then click the blue “create” button (see screenshot below).

Step 5: Click Connect Devices
To get email settings, click “Connect Devices” (see screenshot below).
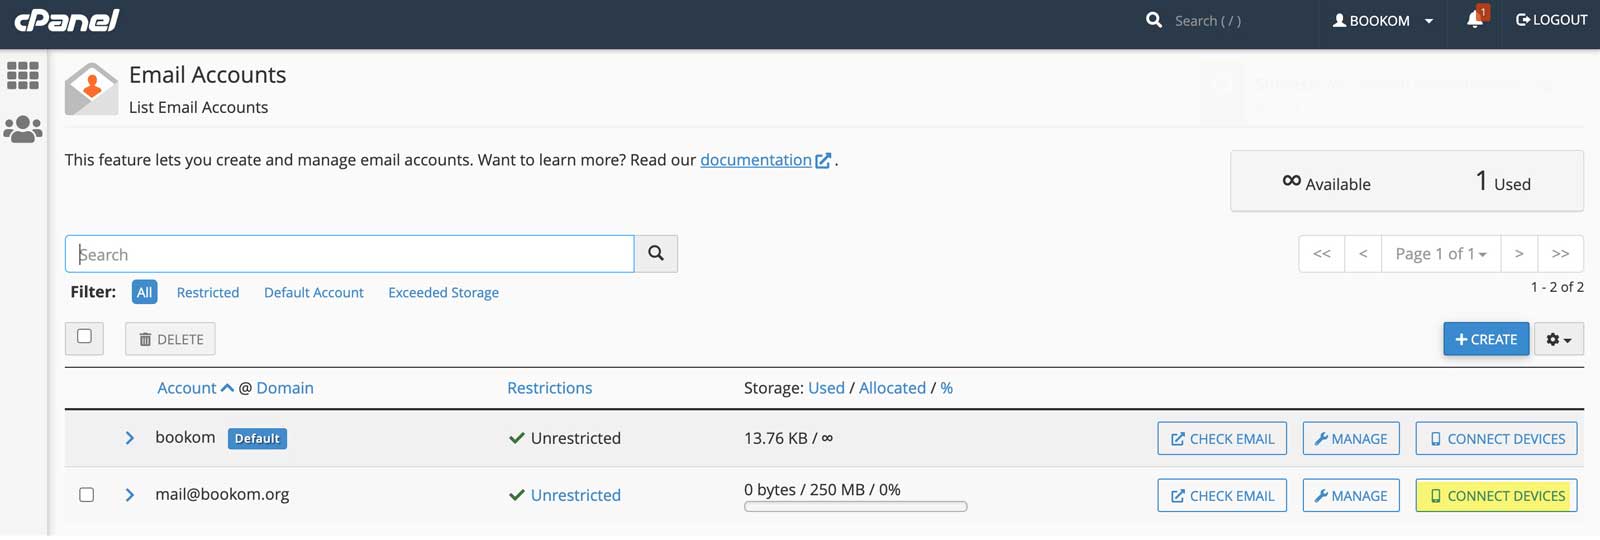
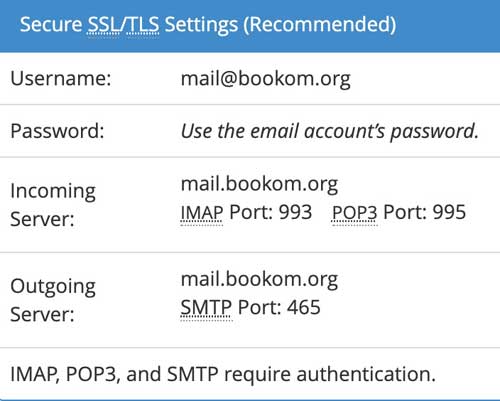
Step 6: Copy Your Settings Somewhere Safe
You’ll need those settings if you want to add the email address to your Gmail account (or Microsoft Outlook). Your settings will include your username, password (which won’t be shown), incoming server, and outgoing server. See screenshot below.
Optional Step: Get A Logo In 5 Minutes
![]()
Go to Fiverr.com and type in “logo” within the search and choose one of the sellers to create a logo for you. If they have a rating of 4.8 or higher, you can trust them to do a good job.
Optional Step: Use A Domain Registrar

I personally get all my domains from 1and1.co.uk (a domain registrar), but that’s because I have lots of domain names. If you only need one domain name, you will be better off getting your free domain name when you register for BlueHost hosting. For transparency purposes, I’m providing the steps for getting a domain name using the domain registrar that I use.
There are many domain registrars that you can use. I use 1and1.co.uk, but any other well-known registrar will do just as good a job.
Step 1: Go to 1and1.co.uk
Go to 1and1.co.uk and sign up for a free domain registrar account.
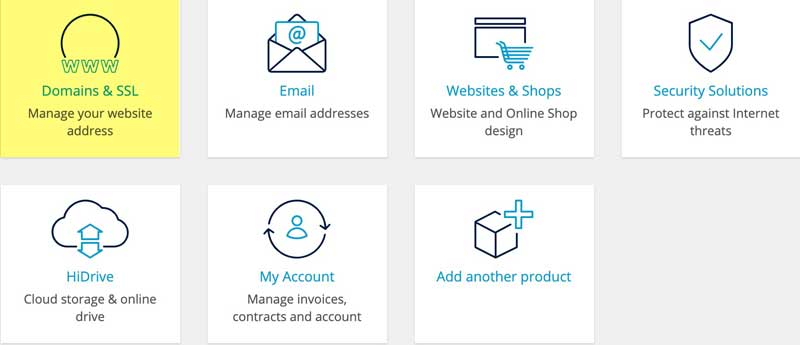
Step 2: Click “Domains & SSL”
Click the “Domains & SSL” link (see screenshot below)
Step 3: Click “Add Domain”
Click the blue “Add Domain” button on the top right (see screenshot below).

Step 4: Enter a name
Enter your desired web address (see screenshot below).

Step 4: Purchase the domain name
If the domain name is available, click “Add to cart” and purchase it.
You can choose anything like – thebestyogawebsitever.co.uk, or .com, or .in, or .net, or .org. Just don’t misspell the name as I did in the screenshot below.

Optional Step: Install WordPress Via cPanel

If on Part I: Get Domain & Hosting From BlueHost you choose “Go to your Bluehost account (cPanel)”, you’ll need to set up WordPress on your cPanel. Follow the steps below.
Step 1: Managed WordPress
To Install WordPress, go to your cPanel hosting account and click “Managed WordPress.”
Step 2: Username & Password
Create a WordPress Login by entering a username and password. (This will be used to log into your WordPress as admin).
Step 3: WordPress Dashboard
After the WordPress Installation is complete, you’ll then be taken to your WordPress Dashboard. This is the place where you’ll be controlling your website. When you reach this page, your website will be LIVE!
Step 4: Admin Login
To visit your WordPress admin dashboard, type yoursite.com/wp-admin/, and enter your username and password.
The Tools I Recommend When Setting Up A Website
Recommended tools:
Get BookOm ➜ Affordable online booking system
Get 1and1.co.uk ➜ Affordable domain names (domain registrar)
Get Astra premium theme ➜ Amazing WordPress theme
Get BlueHost ➜ Affordable hosting & free domain name
Get Elementor Pro ➜ WordPress page builder
Use Fiverr.com ➜ Logo design
Use Pexels ➜ Royalty-free images
The Tool I Recommend When Creating Yoga Lesson Plans
If you’re a yoga teacher trainee, newbie yoga teacher, or experienced yoga teacher, you’ll want to make your yoga lesson planning as easy as possible. So take a peek at our online Yoga Genie Lesson Planner.