
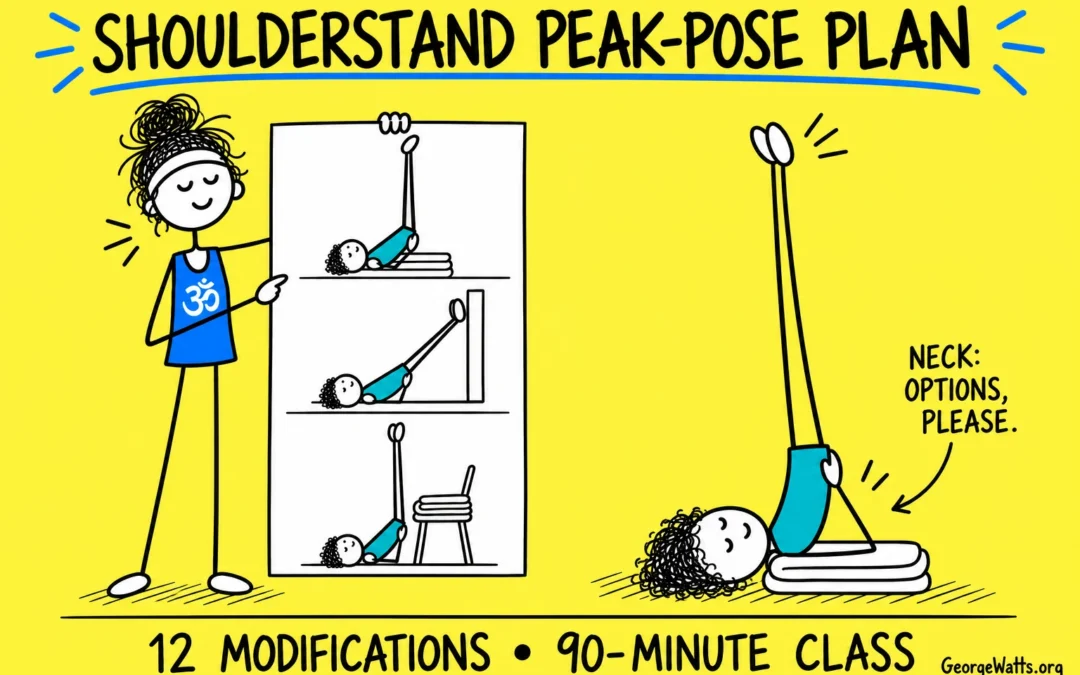
George’s Intro
Hi, I’m George. I’m a British Wheel of Yoga teacher, creator of the Online Yoga Lesson Planner and maker of yoga card decks.
I’m also mildly obsessed with sticky-note yoga doodles: distilling the essence of a class idea into the smallest useful space before the kettle boils. This post is one of those doodles—with rather more room for Shoulderstand.
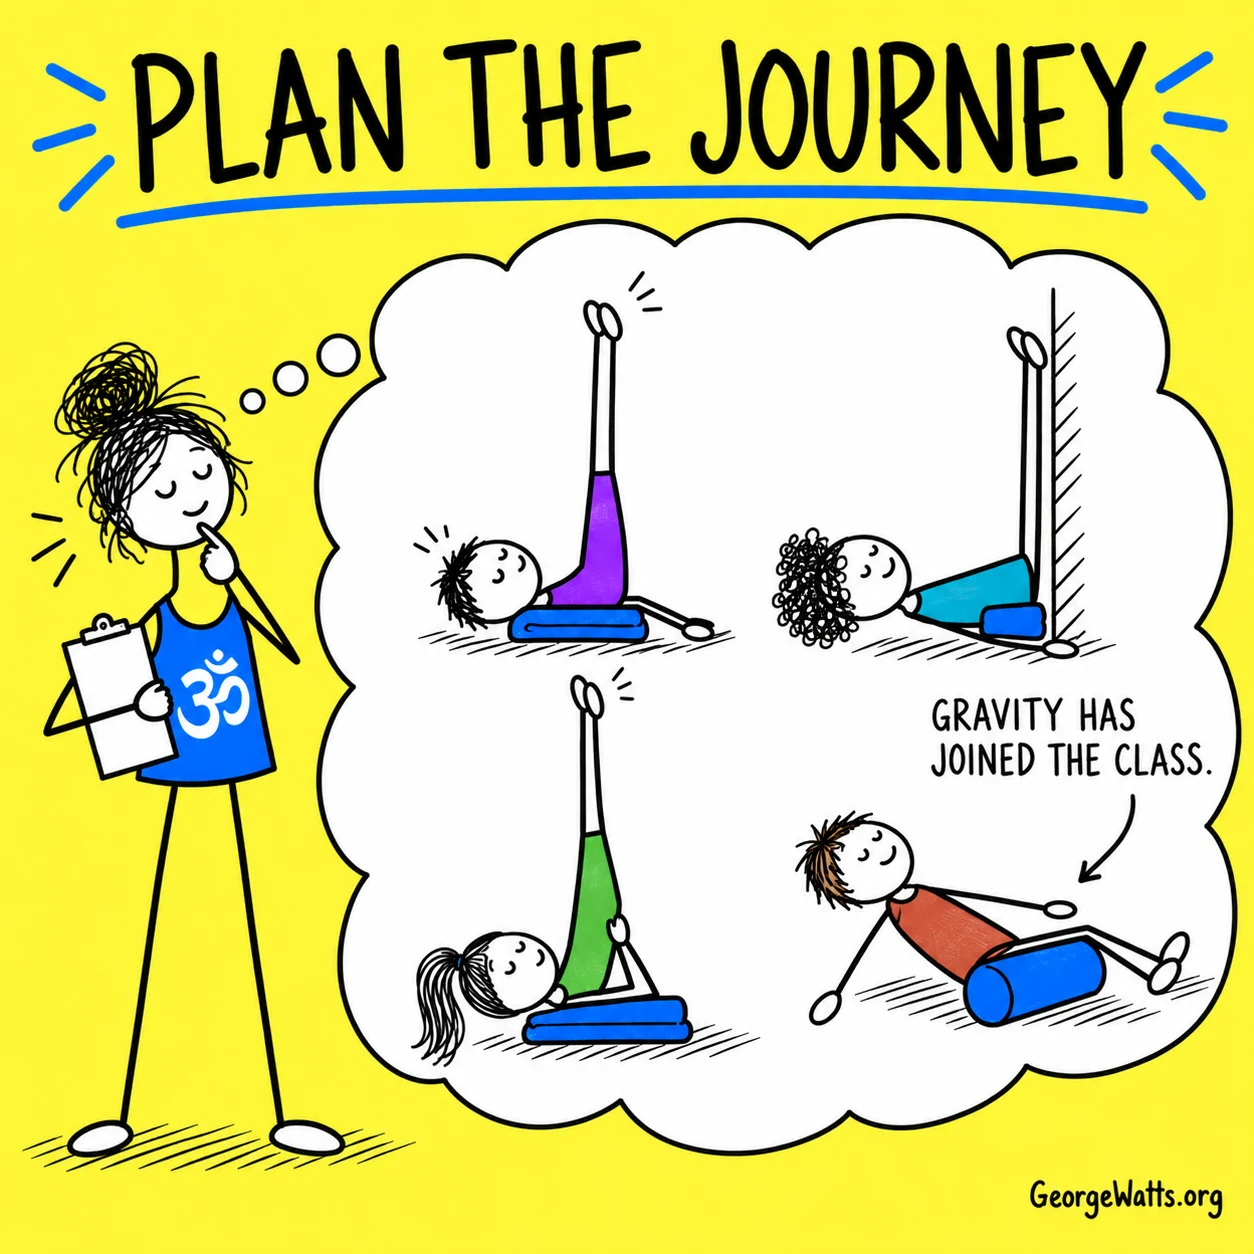
Shoulderstand has a talent for making a calm yoga class feel suddenly rather ambitious. One moment everyone is breathing quietly; the next, gravity has joined the lesson and somebody is wondering where their elbows went.
This plan slows things down. It gives you a 90-minute route towards Sarvangasana, twelve ways to modify the destination and enough teaching notes to keep choice at the centre of the class.
The important word is towards. A peak pose is a direction for the sequence, not a compulsory final exam. Some students may choose full Shoulderstand; others may have a much better class with a wall, a block or their feet cheerfully elevated.
Jump to the 90-minute lesson plan ↓
How to Pronounce Sarvangasana
Start with the name. Shoulderstand is called Sarvangasana in Sanskrit and is commonly pronounced “sahr-vahn-GAHS-uh-nuh.”
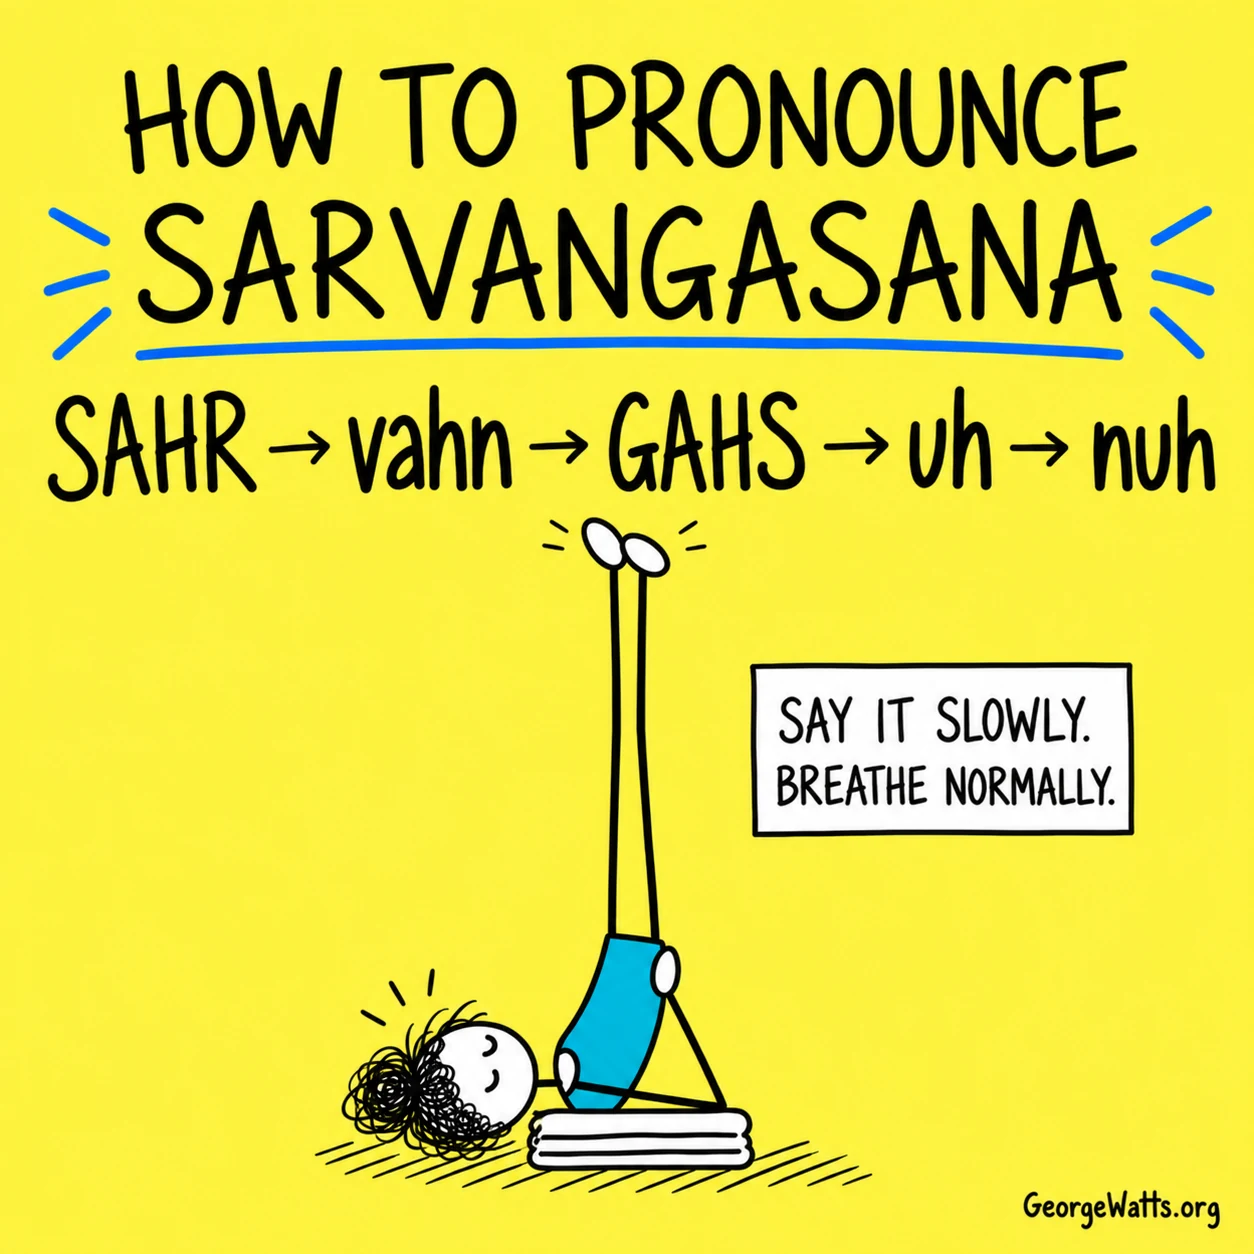
Try it in five pieces: sahr rhymes with “car,” vahn with “on,” GAHS uses the hard g in “gas,” and the final sounds are the short “uh-nuh.” Say it slowly first, then let the syllables travel together.
Safety Before Shape
This is an advanced inversion. Shoulderstand loads the shoulders and upper back while placing the neck in a strongly flexed position. It is not an appropriate choice for every student or every day.
Teach the decision, not just the pose
Use your training, scope of practice and knowledge of the people in front of you. Students with neck, shoulder, spinal, eye-pressure, blood-pressure or other relevant concerns should seek individual medical guidance before attempting inversions. If there is doubt, choose a gentler option.
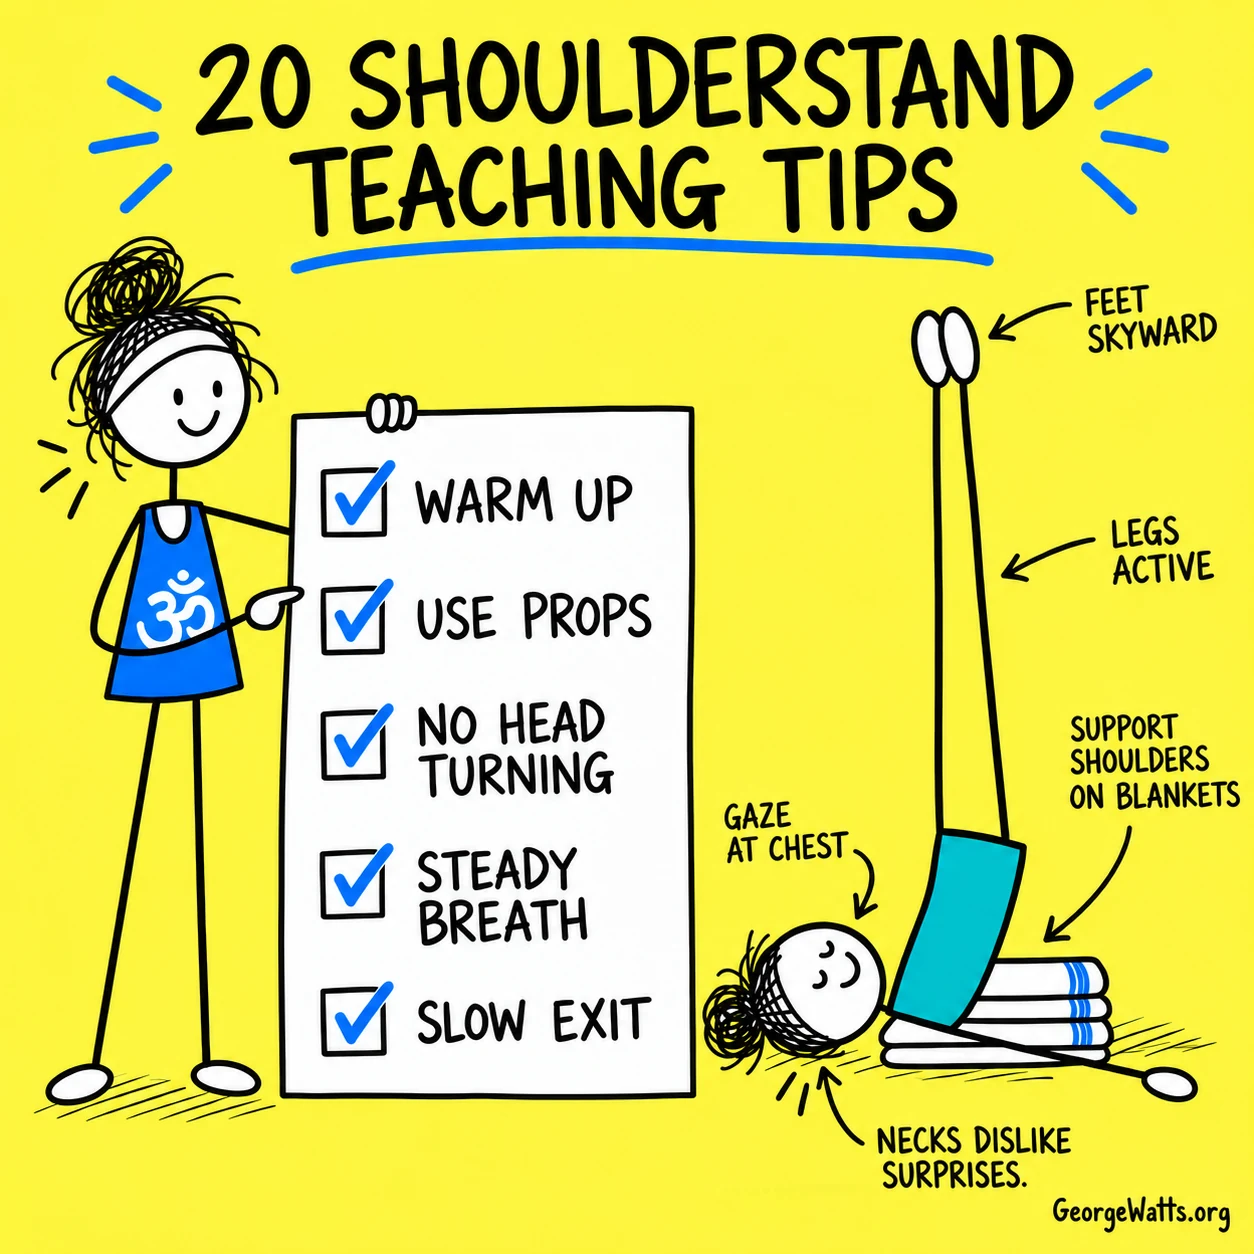
No head turning. Once weight is on the shoulders, keep the gaze steady and avoid looking side to side. Enter and leave slowly, and stop if there is pain, tingling, numbness, dizziness or pressure in the neck or head.
Blankets can lift the shoulders and create space for the neck, but a prop is not a permission slip. Demonstrate the setup carefully, check that students can exit without panic and make the alternative feel like a complete practice—not the queue outside the “real” pose.
12 Shoulderstand Modifications
Offer a genuine menu. These options move from restful inversions towards stronger, more demanding forms. They are not a ladder that everyone has to climb.
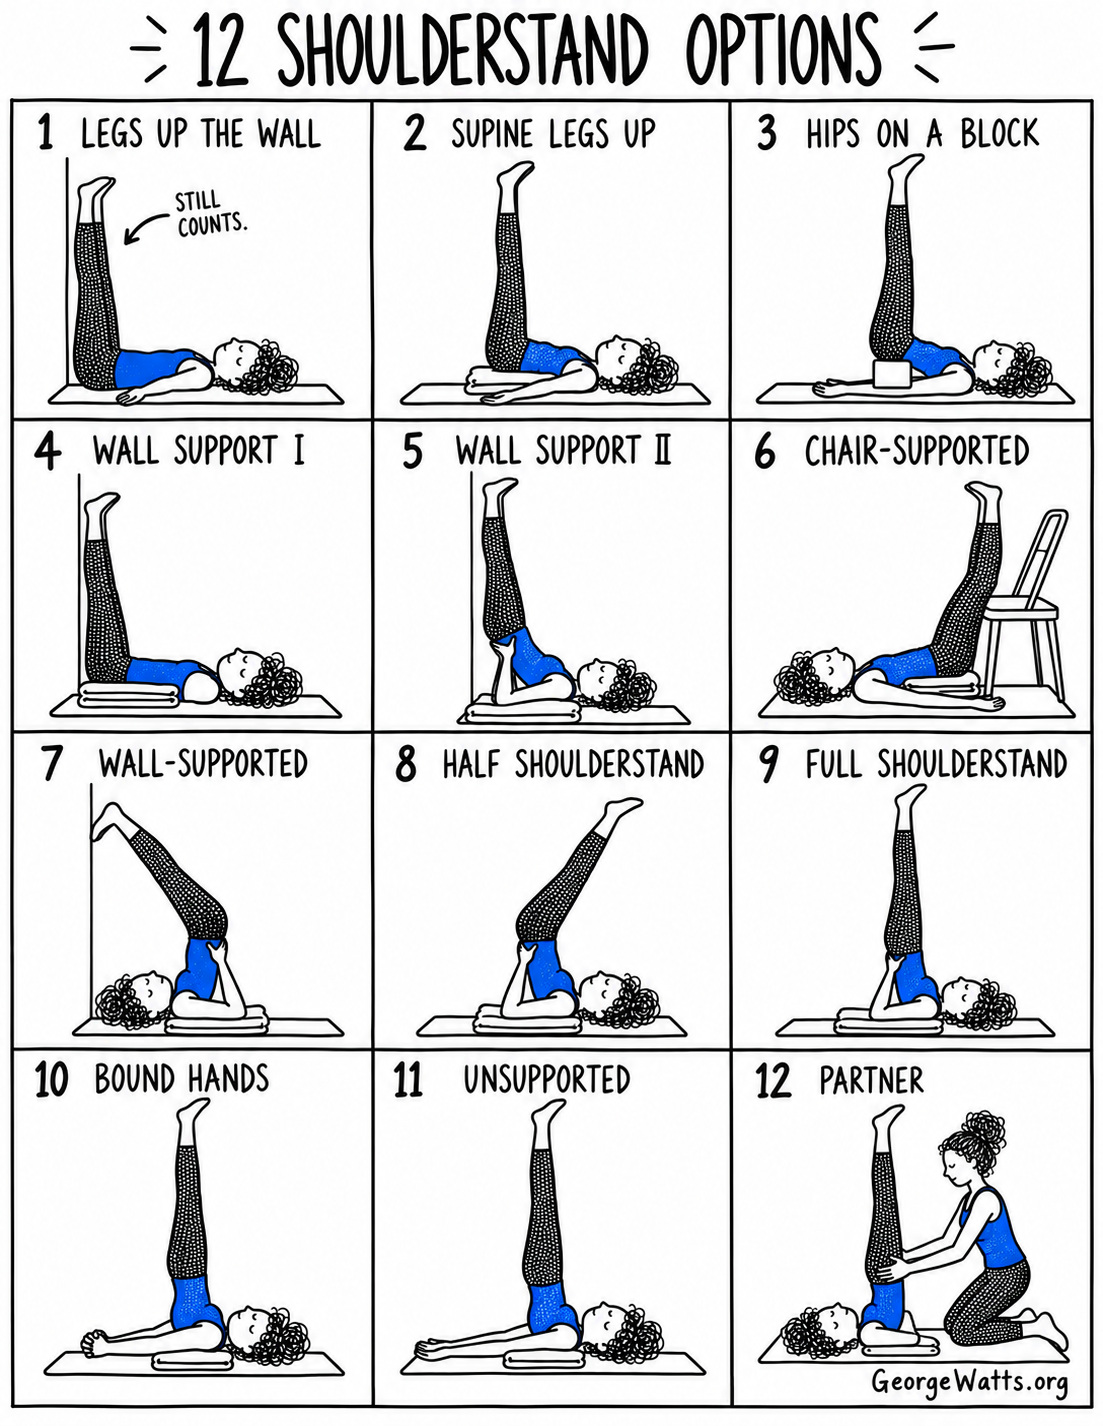
Download the free chart
90-Minute Shoulderstand Peak-Pose Lesson Plan
Now build the runway. The sequence begins quietly, warms the whole body, prepares the shoulders and upper back, and gives students time to choose an inversion that fits.
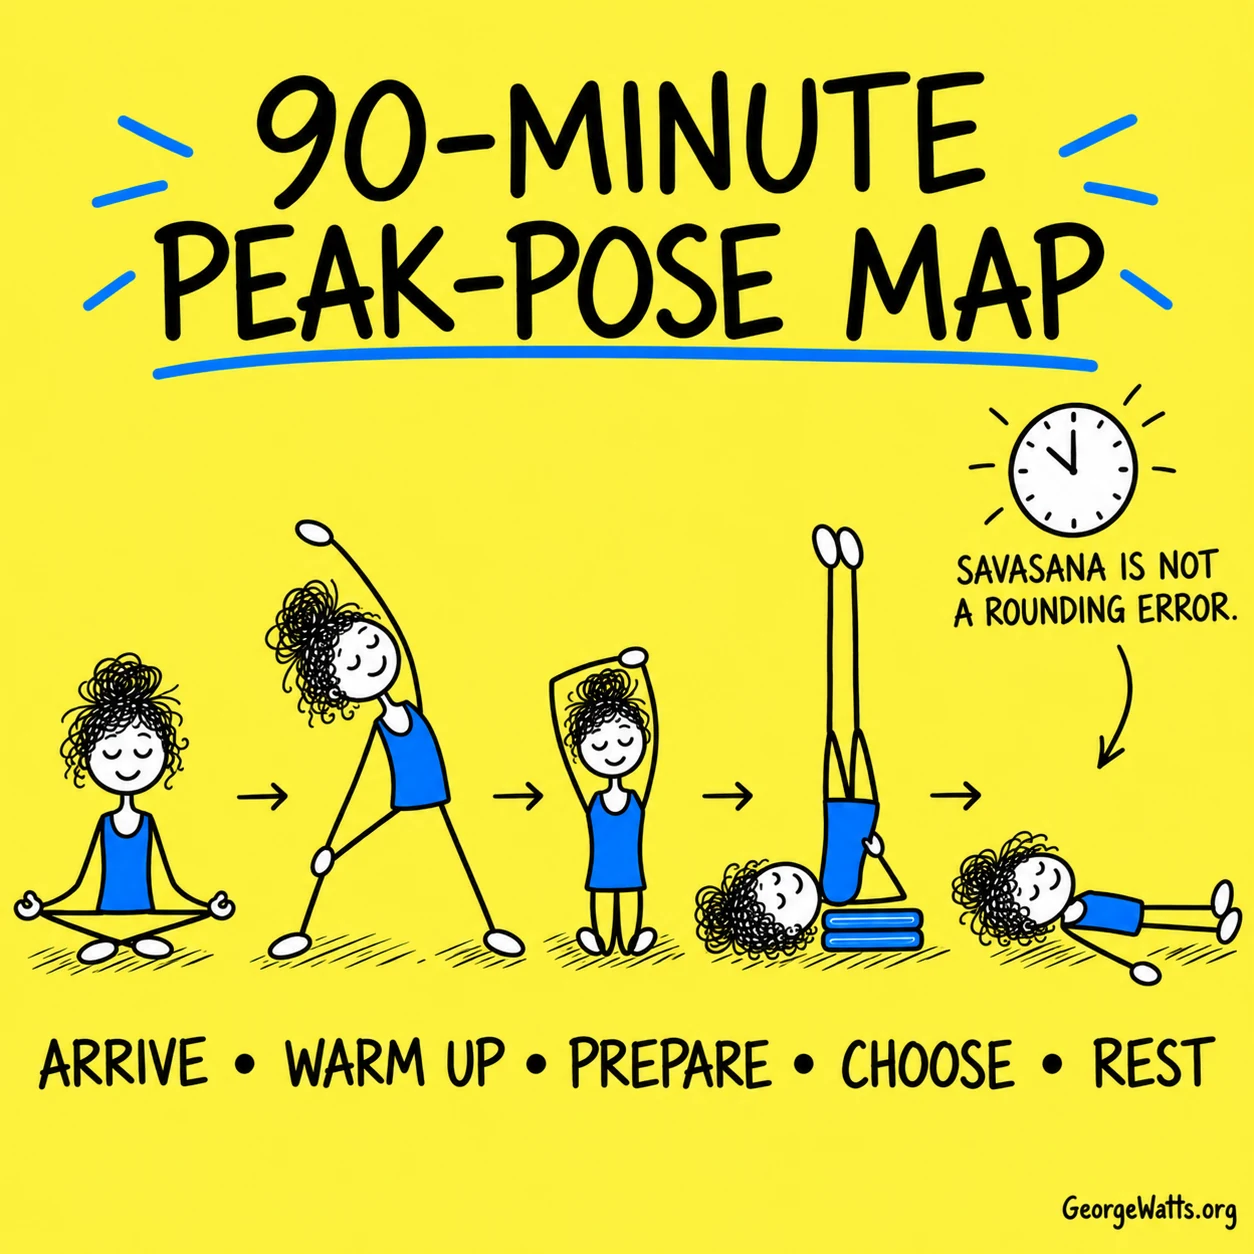
- Centring — 5 minutes
- Begin in Easy Pose.
- Settle with Abdominal Breathing and small, comfortable neck movements.
- Warm-up — 10 minutes
- Seated Cat–Cow, five rounds.
- Downward Facing Dog, five breaths.
- Sun Salutation A, three unhurried rounds.
- Standing poses — 10 minutes
- Mountain Palm Lock.
- Warrior II, then Extended Side Angle and Triangle Pose.
- Balance — 5 minutes
- Tree Pose with Anjali Mudra.
- Eagle Pose with attention to steadiness rather than theatre.
- Floor preparation — 10 minutes
- Bound Angle Pose and Half Pigeon.
- Sphinx Pose and Bridge Pose to prepare the front body and upper back.
- Inversion preparation — 5 minutes
- Rehearse shoulder placement, blanket setup and the rule about keeping the head still.
- Use Plough Pose only where appropriate.
- Peak-pose choices — 25 minutes
- Gentle: Legs Up the Wall or Supine Legs Up.
- Supported: Hips on a Block or Half Shoulderstand.
- Advanced: Full Shoulderstand with careful setup, observation and a slow exit.
- Counterpose — 5 minutes
- Rest neutrally first, then offer a gentle Fish Pose if it suits the student.
- Cool down — 7 minutes
- Savasana — 5 minutes
- Use Savasana with a Bolster under the knees if helpful.
- Closing — 3 minutes
- Return to a comfortable seat and notice what changed—without grading the inversion.
Want different poses? Use the Online Yoga Lesson Planner to swap, reorder and save the sequence.
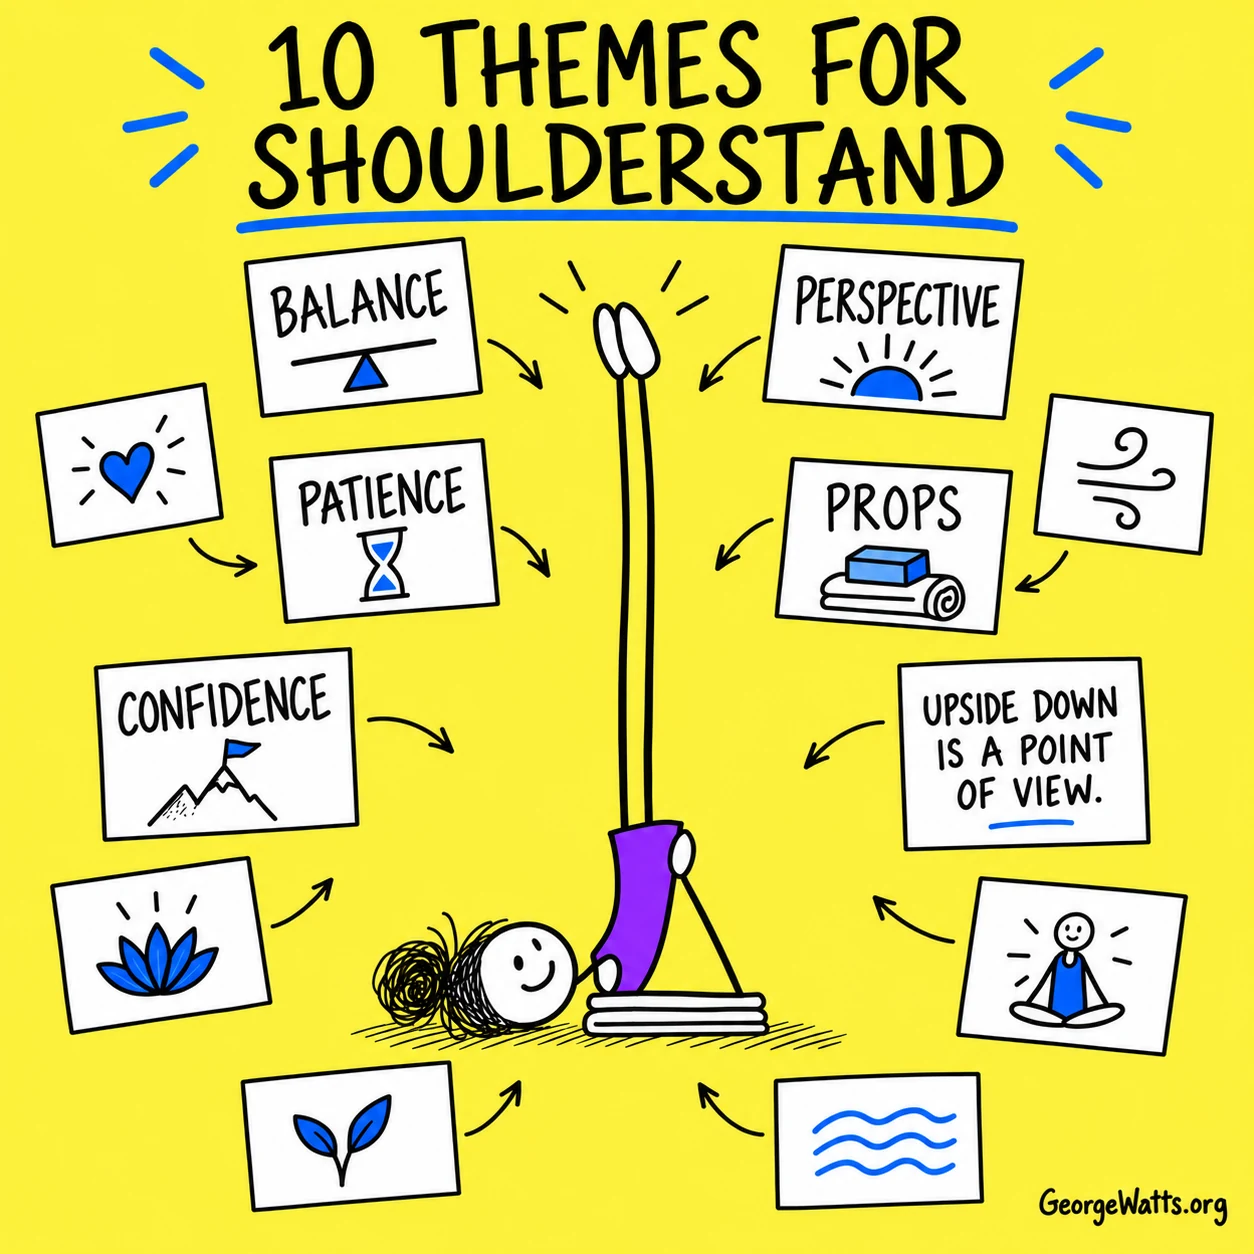
10 Themes for a Shoulderstand Class
A theme gives shape. Choose one idea and let it quietly influence your language, pauses and choices. Ten themes in one class would be less “meaningful arc” and more “inspirational raffle.”
20 Shoulderstand Teaching Tips
Clarity matters here. Shoulderstand is not the moment for mysterious guru language or a demonstration that ends before anyone sees how to come down.
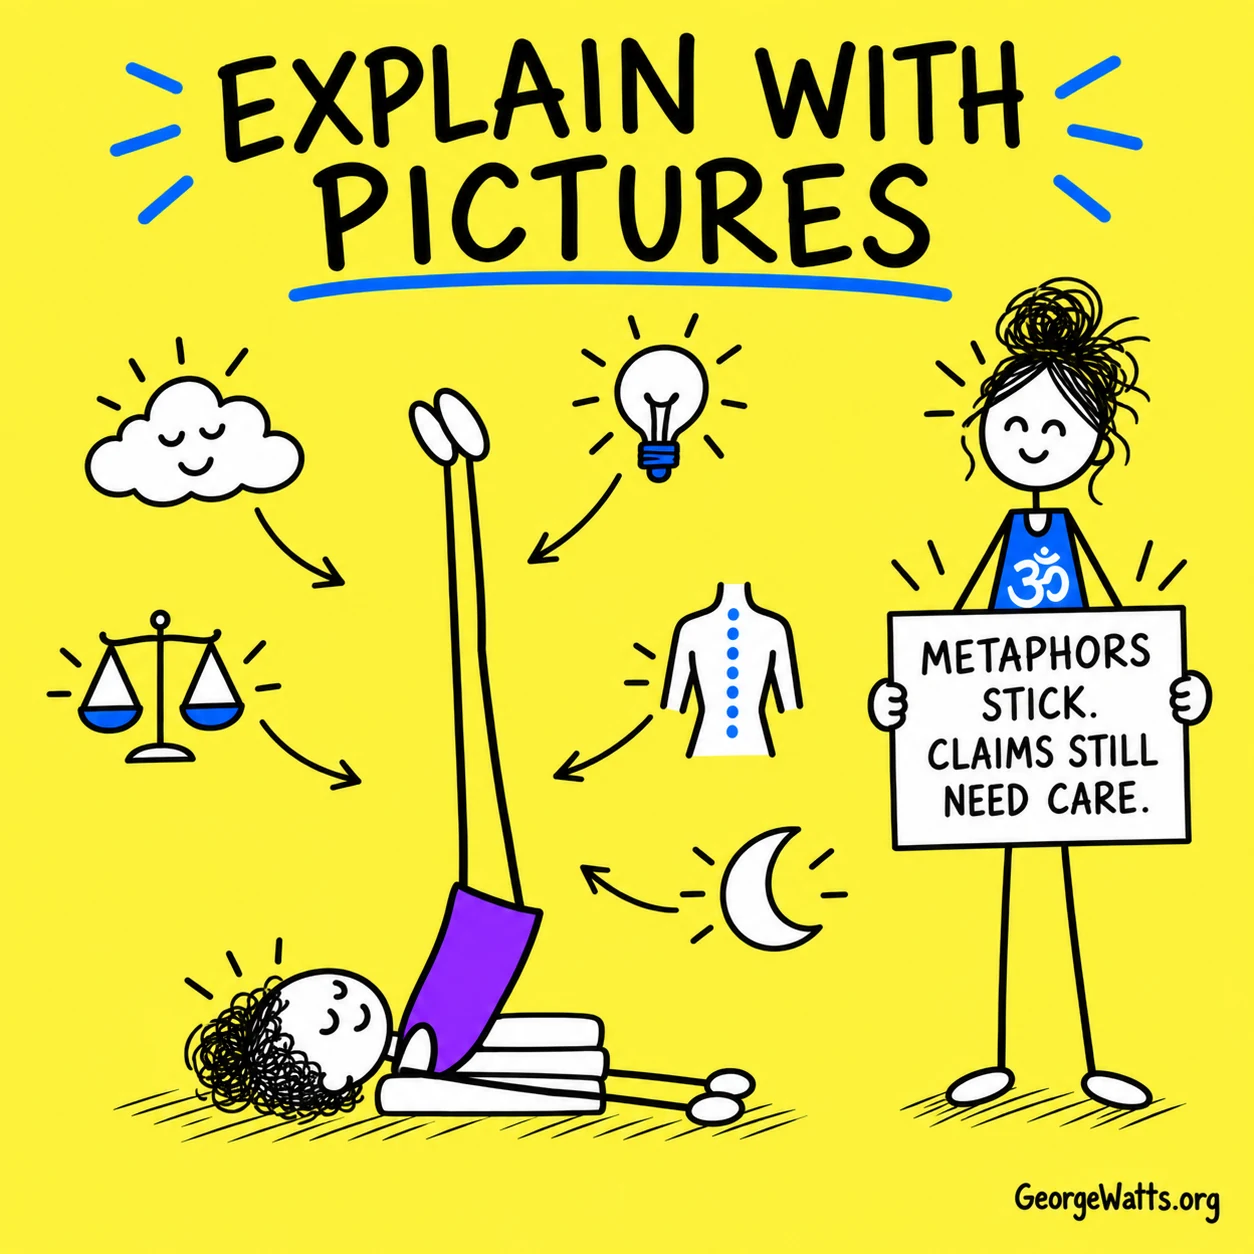
Use Visual Symbolism Carefully
Images are memorable. A simple metaphor can help students remember steadiness, perspective, spaciousness or calm. Keep it poetic and honest rather than turning a yoga pose into a list of medical promises.
“Let the pose be a change of perspective, not a test of worth.”
“Use the wall like a wise friend: supportive, steady and not remotely impressed by acrobatics.”
“Balance is not the absence of movement; it is a conversation with it.”
These images give you language for the experience without making claims about curing, detoxifying or fixing the body. Metaphors should open attention—not overrule evidence.
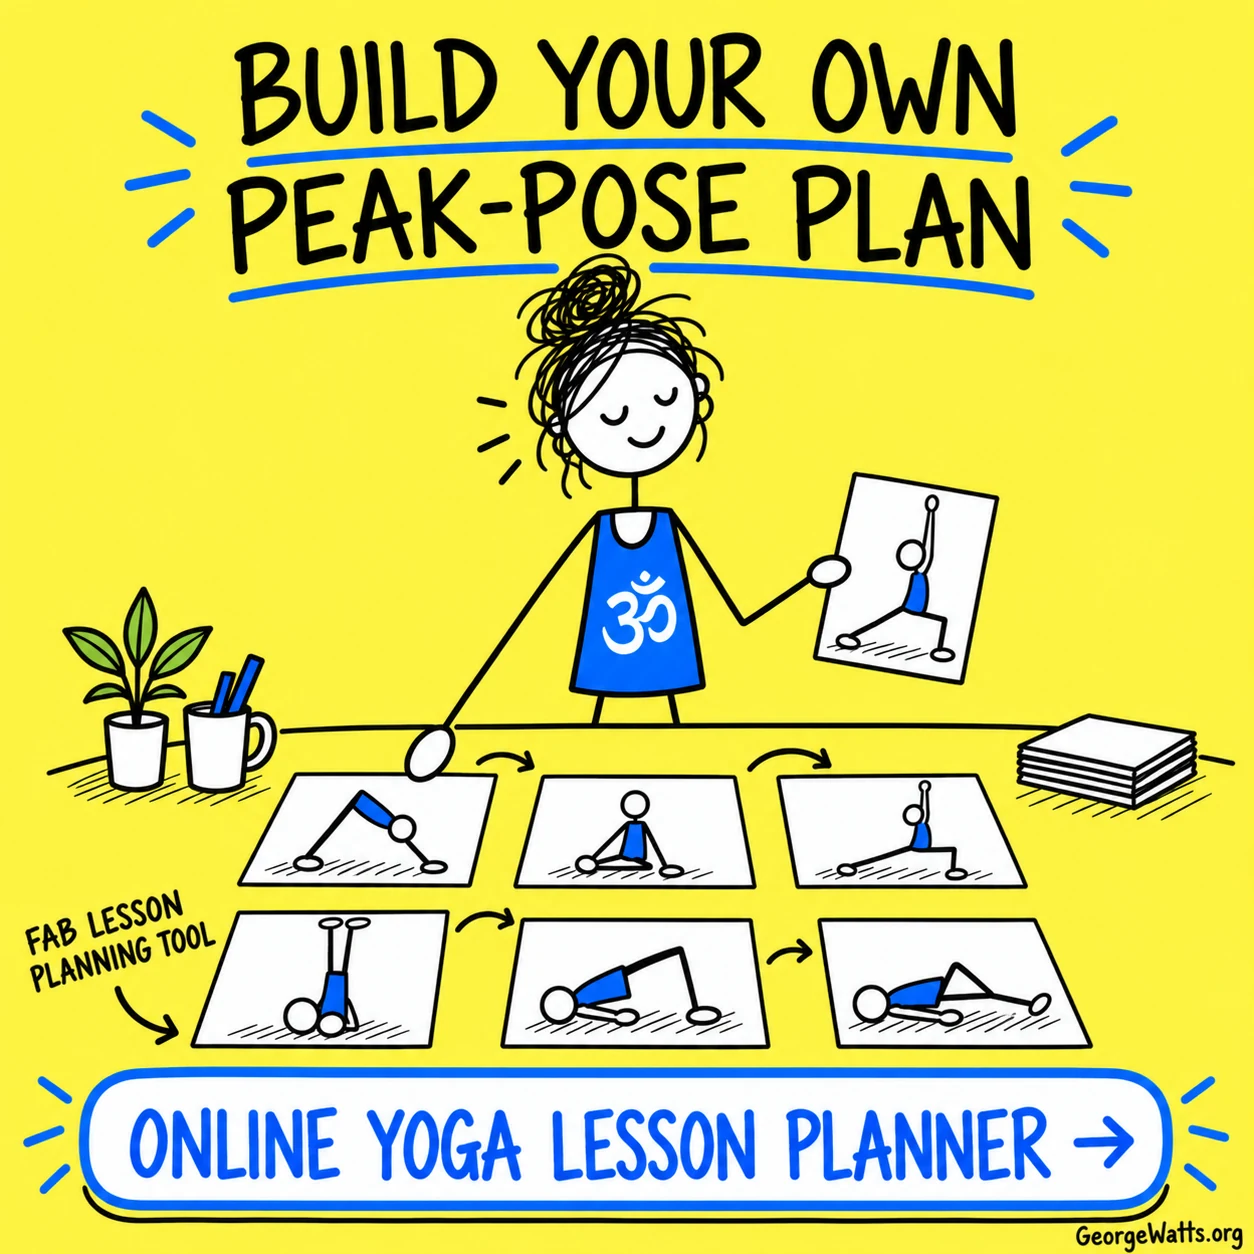
Build Your Own Peak-Pose Plan
Make the plan yours. Use the Online Yoga Lesson Planner to replace poses, reorder the journey and save a version that matches your students, teaching time and available props.
George’s Conclusion
A good peak-pose class does not funnel everybody towards one impressive photograph. It prepares useful actions, offers meaningful choices and gives each student a safe way to participate.
Shoulderstand can be the star of the lesson without becoming a tyrant. Teach the route, respect the exit and keep enough time for students to return to the floor with their dignity, breath and spectacles in roughly the same place.