
On This Page
George’s Introduction
Plan decisions, not poses. I’m George, a BWY yoga teacher, creator of the Online Yoga Lesson Planner, yoga card deck maker and enthusiastic sticky-note doodler.
A useful class plan does not need to predict every breath. It gives you a clear purpose, a sensible route, meaningful options and enough space to respond to the people who actually arrive.
This guide turns class planning into 101 practical decisions. Work through it as a checklist, jump to the part you need, or use the five-step formula below when time is short. If you need the creative spark first, open my companion guide to 101 yoga class ideas.
The Five-Step Planning Formula
Make five decisions first. They give the class a workable shape before you begin choosing individual activities.
People: eight adults in a village hall, mixed experience, with six chairs available. Aim: explore steady weight transfer. Arc: arrive through the feet, prepare with two-footed movements, explore supported balances, then return to the floor and rest. Options: hand on a chair, toes down or stay in Mountain. Notes: “steady gaze”, “chair before Tree” and “begin rest at 50 minutes”. I now have a teachable plan before choosing every pose.
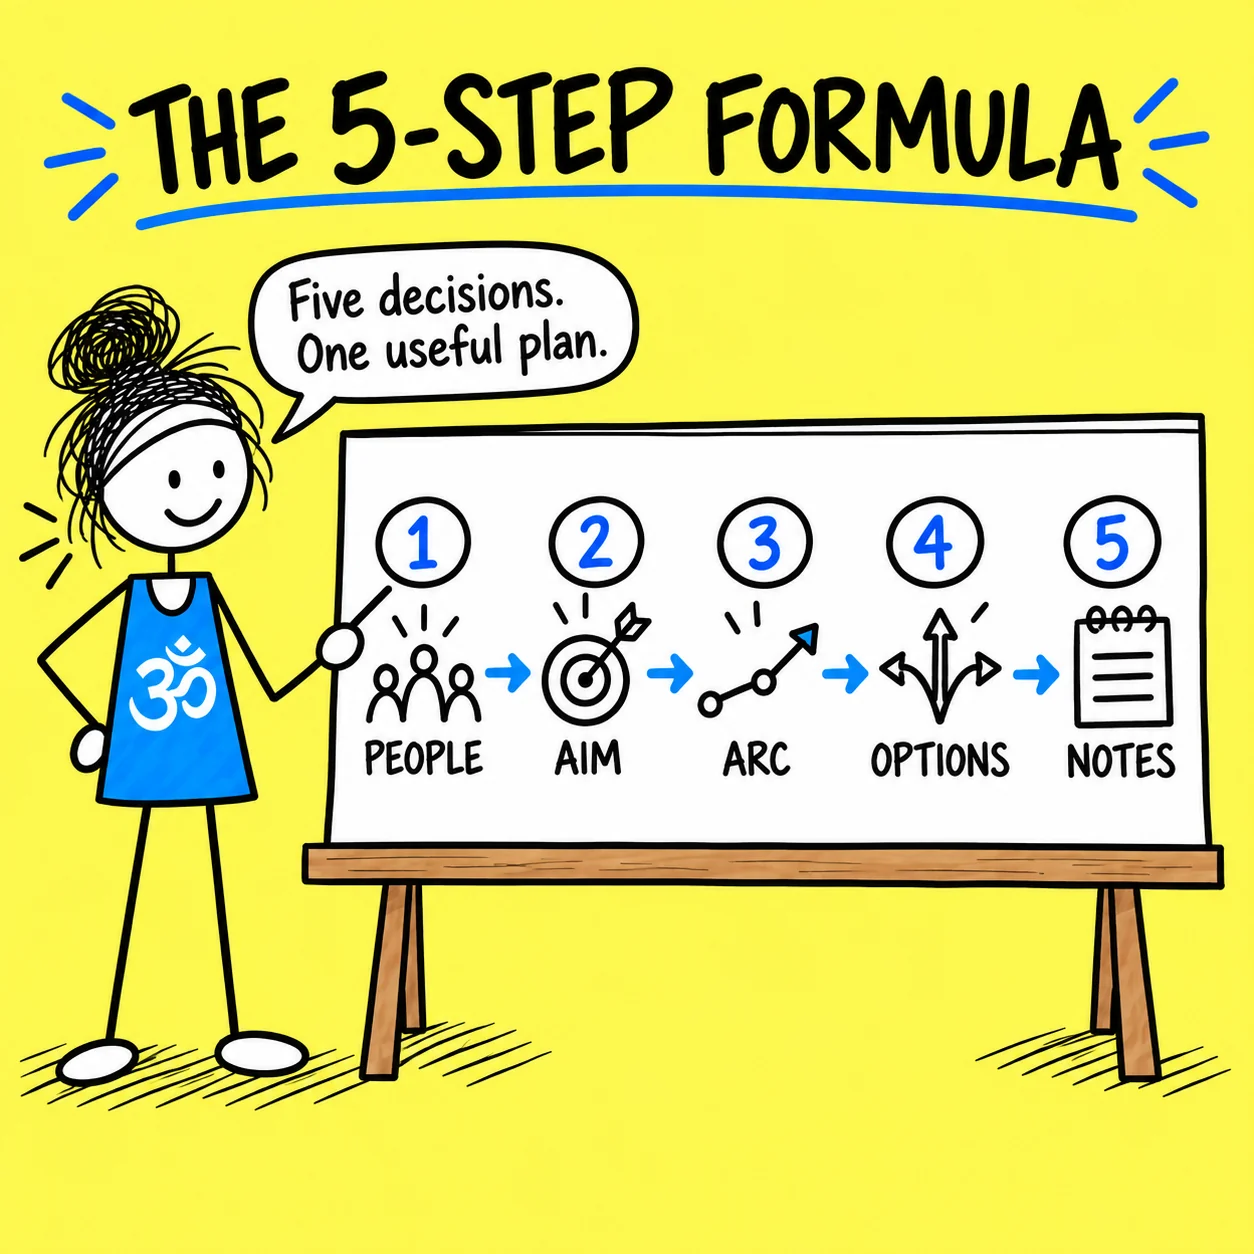
Who is coming, what is the setting, and what are you qualified to teach?
What is the one movement, skill or quality students will explore?
How will the class arrive, prepare, explore, reduce demand and rest?
What support, smaller version, rest and clear exit will you offer?
Which cues, props and timings do you need to see while teaching?
Start With the Students and Purpose Tips 1–17
Begin with the room. The students, setting and purpose should shape the plan before an interesting pose takes over.
I am expecting eight regular students, but two beginners arrive and the hall is colder than usual. Instead of beginning on the floor, I place six chairs near the wall and start everyone standing with hands supported. I keep the purpose—exploring balance—but remove the unsupported Warrior III transition. The students and setting have shaped the activities without forcing me to abandon the whole lesson.
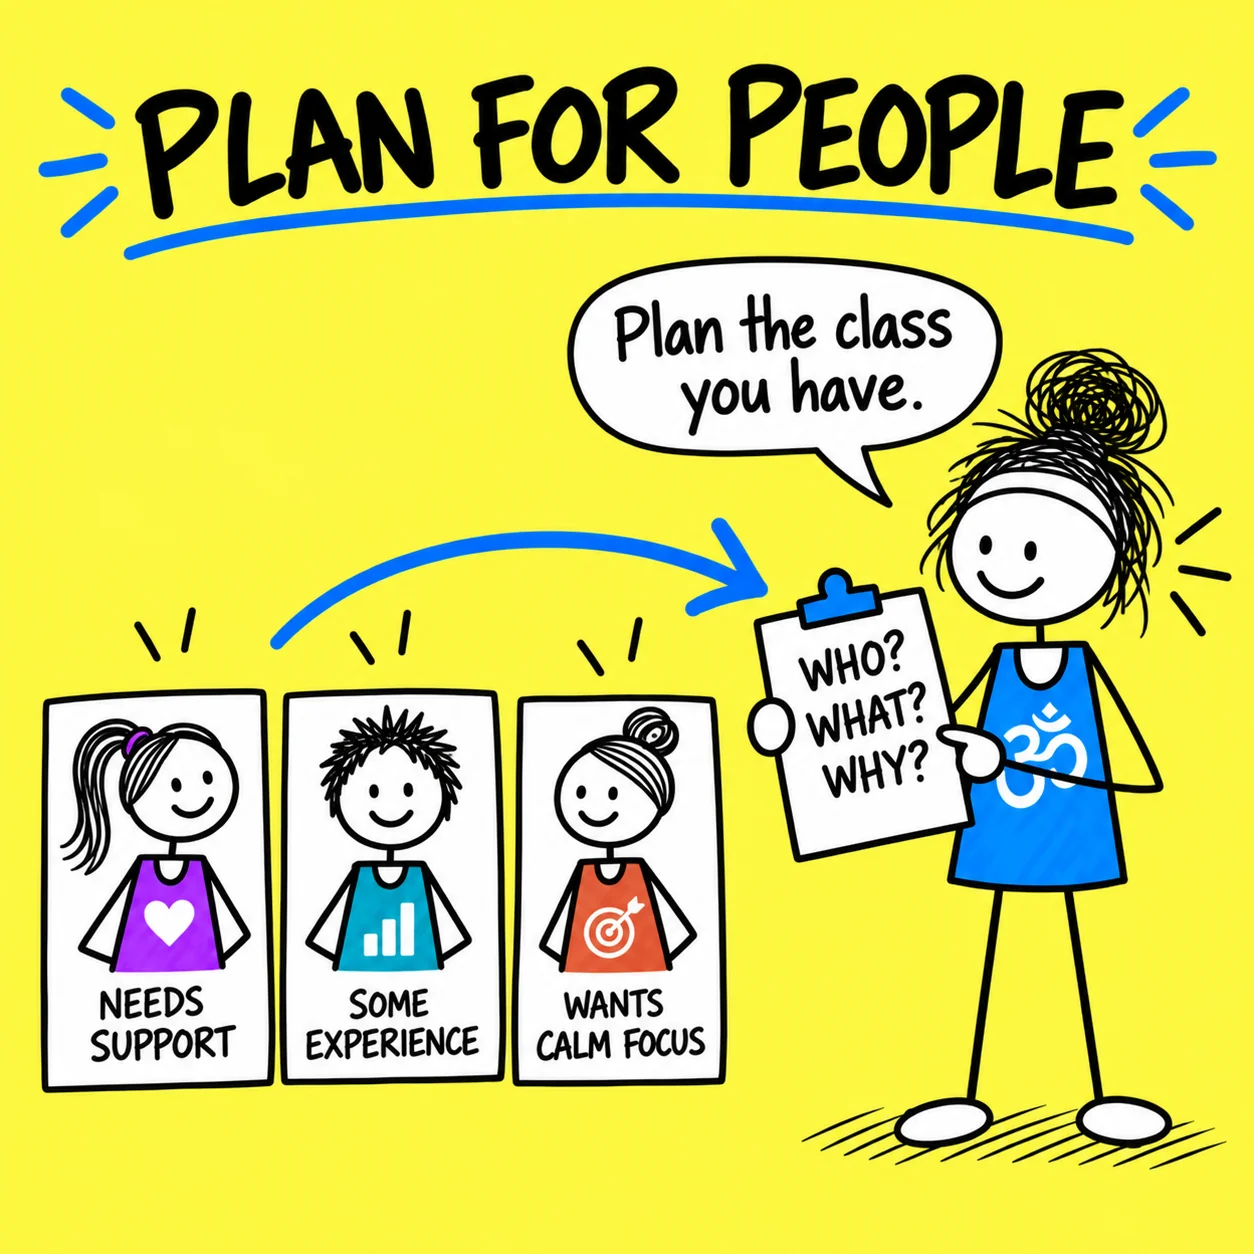
- Picture the group. Write down who is likely to attend before choosing the content.
- Check the setting. A studio, village hall, workplace and online class each create different practical needs.
- Stay within scope. Plan only what your training and experience prepare you to teach.
- Name the class type. Decide whether this is a general class, course, workshop or specialist session.
- Choose one purpose. Write one plain-language sentence about what students will explore.
- Use observable language. Prefer ‘explore steady balance’ to a promise that the class will fix a condition.
- Ask what matters today. Energy, confidence, room temperature and recent activity can change a sensible plan.
- Know the experience level. A beginner-friendly route needs fewer assumptions and more time for orientation.
- Allow mixed experience. Plan a shared task with several useful versions instead of separate classes within the class.
- Consider access. Think about steps, floor transfers, hearing, sight, space and equipment before students arrive.
- Check your information. Use registration details and conversation appropriately without diagnosing students.
- Plan for late arrivals. Choose an opening that lets someone join without a hurried or confusing entrance.
- Plan for absences. Make the session work even if the group is smaller or different from the one you imagined.
- Respect the timetable. Include arrival, transitions, rest and closing inside the advertised class time.
- Match the energy. Decide whether the group needs more activity, more quiet or a thoughtful mixture.
- Choose success. Define a successful class as useful participation and informed choice, not a pose result.
- Write the boundary. Note anything you will deliberately leave out because it does not suit this group or session.
Back to the five-step formula ↑
Choose One Idea and Shape the Class Arc Tips 18–34
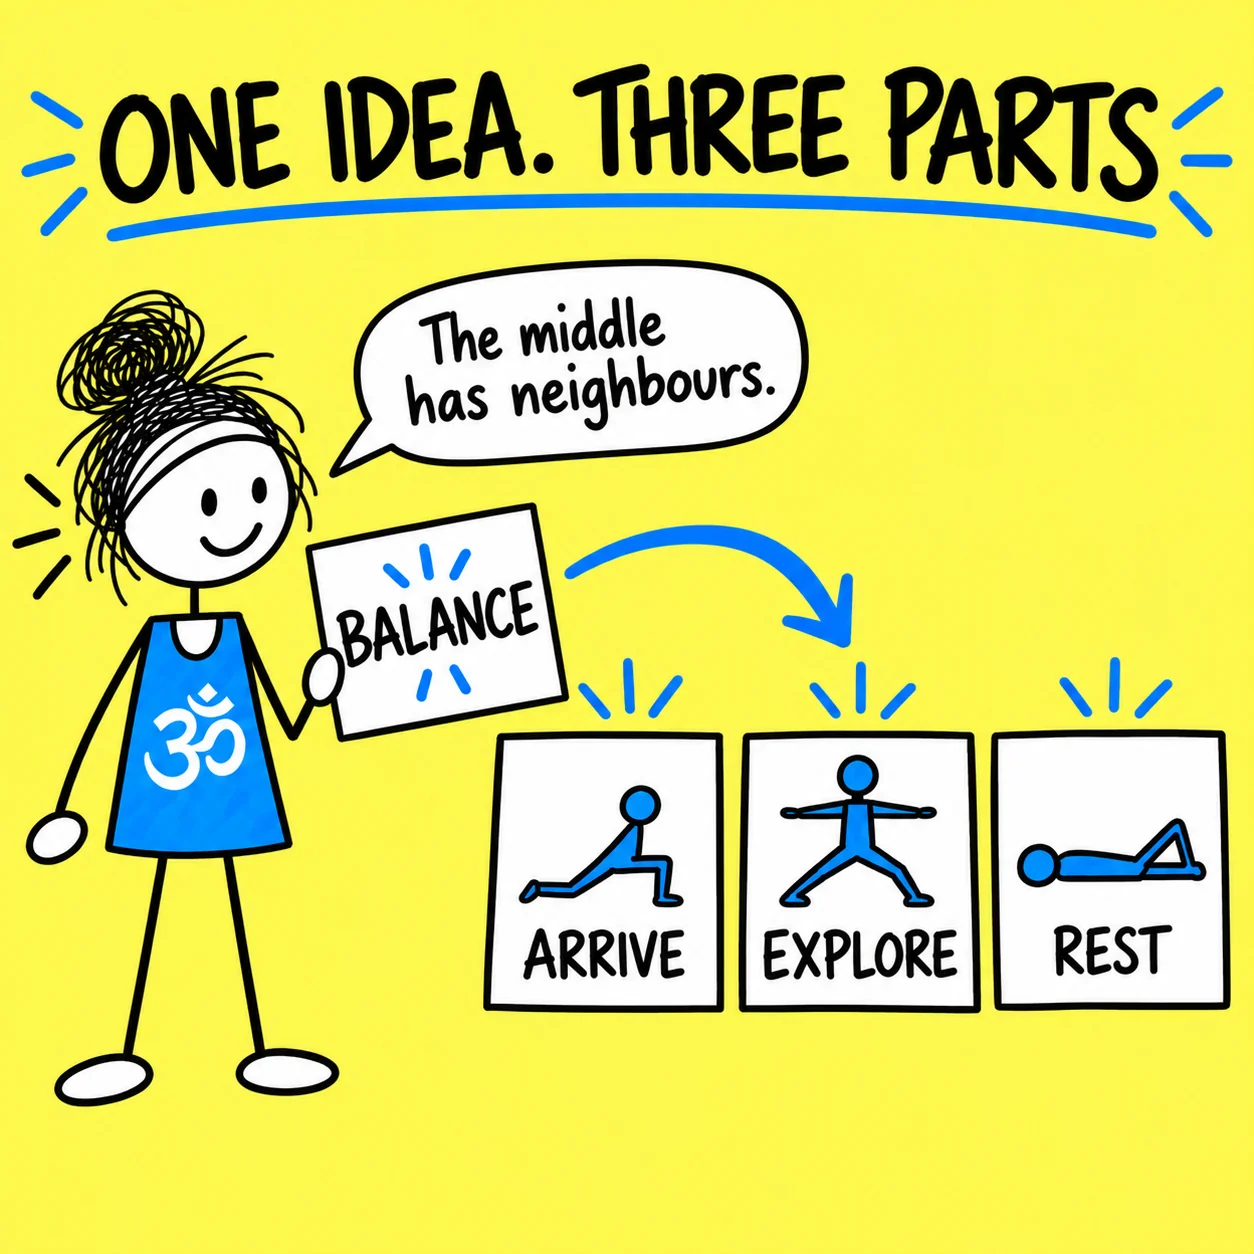
Give the class one spine. A clear idea can connect the beginning, exploration and ending without becoming a lecture.
For the same group, I begin with seated ankle circles and standing weight shifts. The middle develops through heel raises, Warrior II, a chair-supported hip hinge and Tree with either the toes or one foot lifted. I reduce the demand with a wide-legged fold using the chair, then finish in constructive rest. Every section explores balance or recovery from balance; I have not added a twist sequence simply because I like it.
- Choose one idea. Use a movement, pose family, theme, skill or question as the organising thread.
- Keep it teachable. Make the idea specific enough to influence the activities you choose.
- Separate aim from activity. ‘Explore balance’ is an aim; Tree Pose is one possible activity.
- Make the opening useful. Introduce the focus briefly and let students experience it early.
- Begin below the peak. Start with a manageable version so the group can notice rather than perform.
- Build in stages. Move from familiar to less familiar and from lower demand to higher demand where appropriate.
- Choose preparation honestly. Include movements that relate to the main task, not every warm-up you know.
- Let the middle explore. Give the central idea enough time to develop without filling every minute.
- Offer more than one route. A class arc can branch while everyone explores the same purpose.
- Plan the turning point. Know where demand stops increasing and begins to reduce.
- Reduce demand gradually. Use one or two quieter transitions instead of jumping from effort to stillness.
- Protect the ending. Reserve enough time for a comfortable rest and an unhurried close.
- Return to the idea. A short question near the end can connect the experience without explaining it for students.
- Use themes lightly. Let words support the practice rather than inserting a speech between every pose.
- Avoid novelty pressure. A familiar class can be valuable when the teaching question is clear.
- Remove one thing. If the plan feels crowded, cutting an activity usually improves it more than adding another transition.
- Write a one-line arc. Summarise the route as ‘arrive, explore balance, reduce demand, rest’ before adding detail.
Back to the five-step formula ↑
Sequence and Plan Transitions Tips 35–51
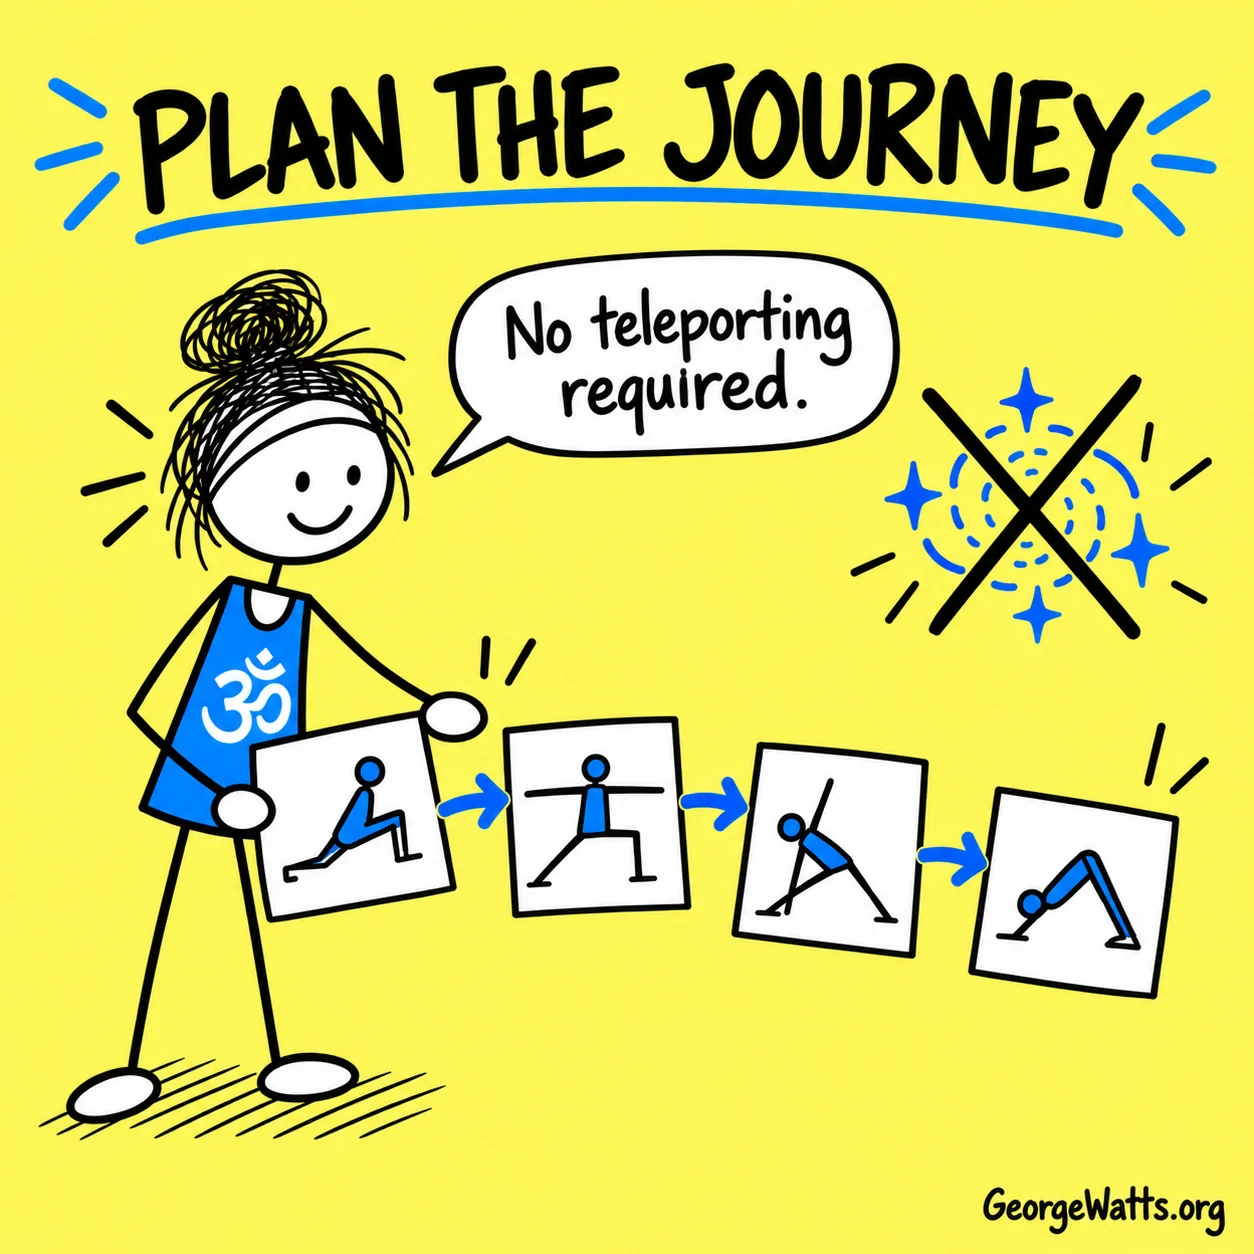
Plan the journey between shapes. Students experience the transitions as much as the poses, so put them on the page.
A rough plan might say “Warrior III, Tree, forward fold”. My teaching version says: return both feet to Mountain after Warrior III; pause; move the chair to the left hand; place the right toes at the inner ankle for Tree; return to Mountain; then turn towards the chair and hinge with both hands supported. Those extra words prevent students from balancing while moving furniture and stop the sequence feeling like yoga teleportation.
- List the positions. Mark whether each activity is standing, kneeling, seated, prone or supine.
- Reduce needless travel. Group some activities by level so students are not repeatedly up and down.
- Plan every change. Write how students move from one position or side to the next.
- Teach the first transition. The opening change often establishes the pace and level of detail for the class.
- Use stable starting points. Choose positions from which students can listen, look and organise support.
- Prepare the real demand. If the focal task needs balance, load or coordination, introduce that demand progressively.
- Avoid pose collecting. Every activity should prepare, explore, vary or settle the central idea.
- Vary demand. Alternate effort with pauses instead of stacking every demanding activity together.
- Watch repeated loading. Notice how often wrists, knees, shoulders or another area carries weight.
- Plan both directions. Include the route out of a shape, not just the route into it.
- Make sides clear. Write left and right where confusion is likely, while remembering that perfect symmetry is not compulsory.
- Use repetition deliberately. Repeat to support learning, not merely because the plan ran short.
- Change one variable. Alter range, base, direction or support so students can understand what changed.
- Leave setup time. Props and position changes take longer than a neat list suggests.
- Include a pause. A brief neutral position can make the next instruction easier to understand.
- Test the route. Mentally rehearse the sequence or move through unfamiliar transitions before teaching.
- Keep an exit lane. Know which activity you can omit if the class needs more time.
Back to the five-step formula ↑
Plan Options, Props and Accessibility Tips 52–68
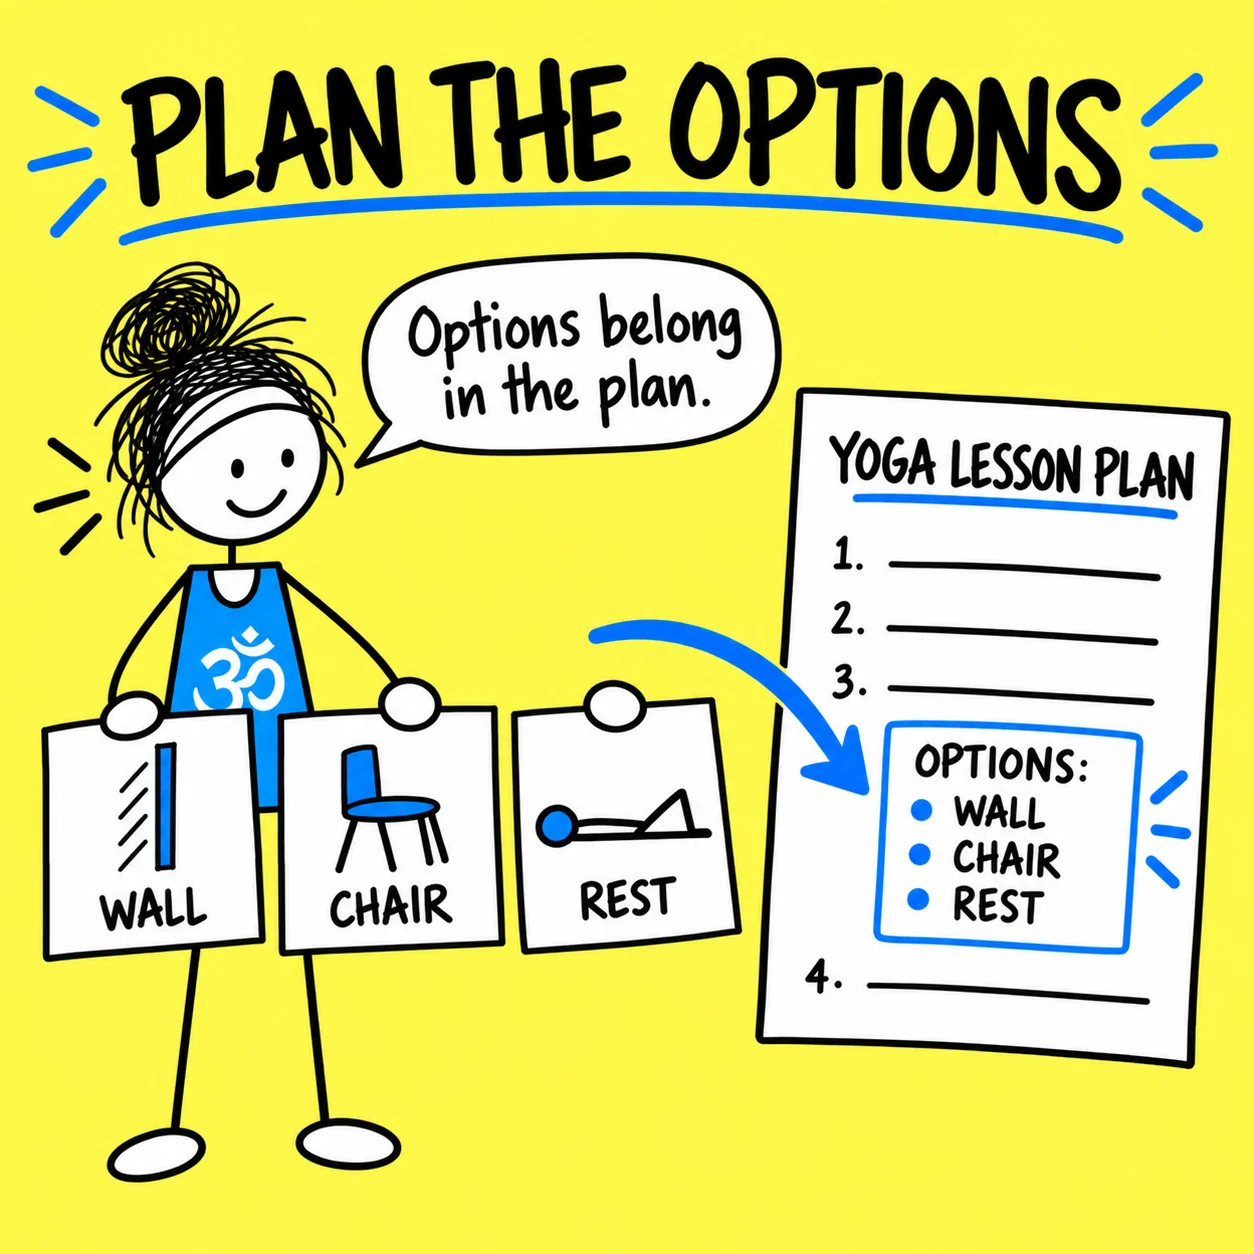
Put choice in the plan. Useful options work best when they are ordinary parts of the lesson, not emergency repairs.
I demonstrate Tree with one hand on the chair first. Students can keep the lifted foot’s toes on the floor, place the foot at the inner ankle, or lift it higher if that is comfortable and steady. Anyone who wants to stop returns both feet to Mountain. Everyone explores the same question—how support changes balance—so the chair is not presented as the consolation prize.
- Offer a base option. Choose a manageable version that teaches the same central idea.
- Add one progression. Increase demand only when it adds a useful learning choice.
- Plan a rest option. Tell students where and how they can pause without losing the thread of the class.
- Introduce props early. Show the chair, wall, block or blanket before anyone urgently needs it.
- Use ordinary language. Describe what the support changes instead of calling it the easy version.
- Keep choices meaningful. Two or three clear routes are often more useful than a catalogue of variations.
- Allow smaller movement. Range is a choice, not a test of commitment.
- Include non-floor options. Plan a chair or standing alternative when floor transfers may be unsuitable.
- Include non-weight-bearing options. Give wrists and shoulders another route when hand loading is not appropriate.
- Plan balance support. A wall or chair can make the balance task clearer, not less authentic.
- Check the prop count. Do not plan twenty bolsters for a room that owns six.
- Place props safely. Decide where equipment will sit when it is not being used.
- Keep exits available. Students should be able to leave a position without waiting for permission.
- Avoid forced breathing. Offer comfortable, unforced breath awareness and a return to natural breathing.
- Use specialist care. Pregnancy, injury, illness and other individual needs may require specific training or referral.
- Avoid treatment promises. Teach movement and awareness without claiming that a class will cure a condition.
- Review the barriers. Ask what could prevent participation and whether the plan offers a practical route around it.
Back to the five-step formula ↑
Write Cues, Timing and Notes Tips 69–84
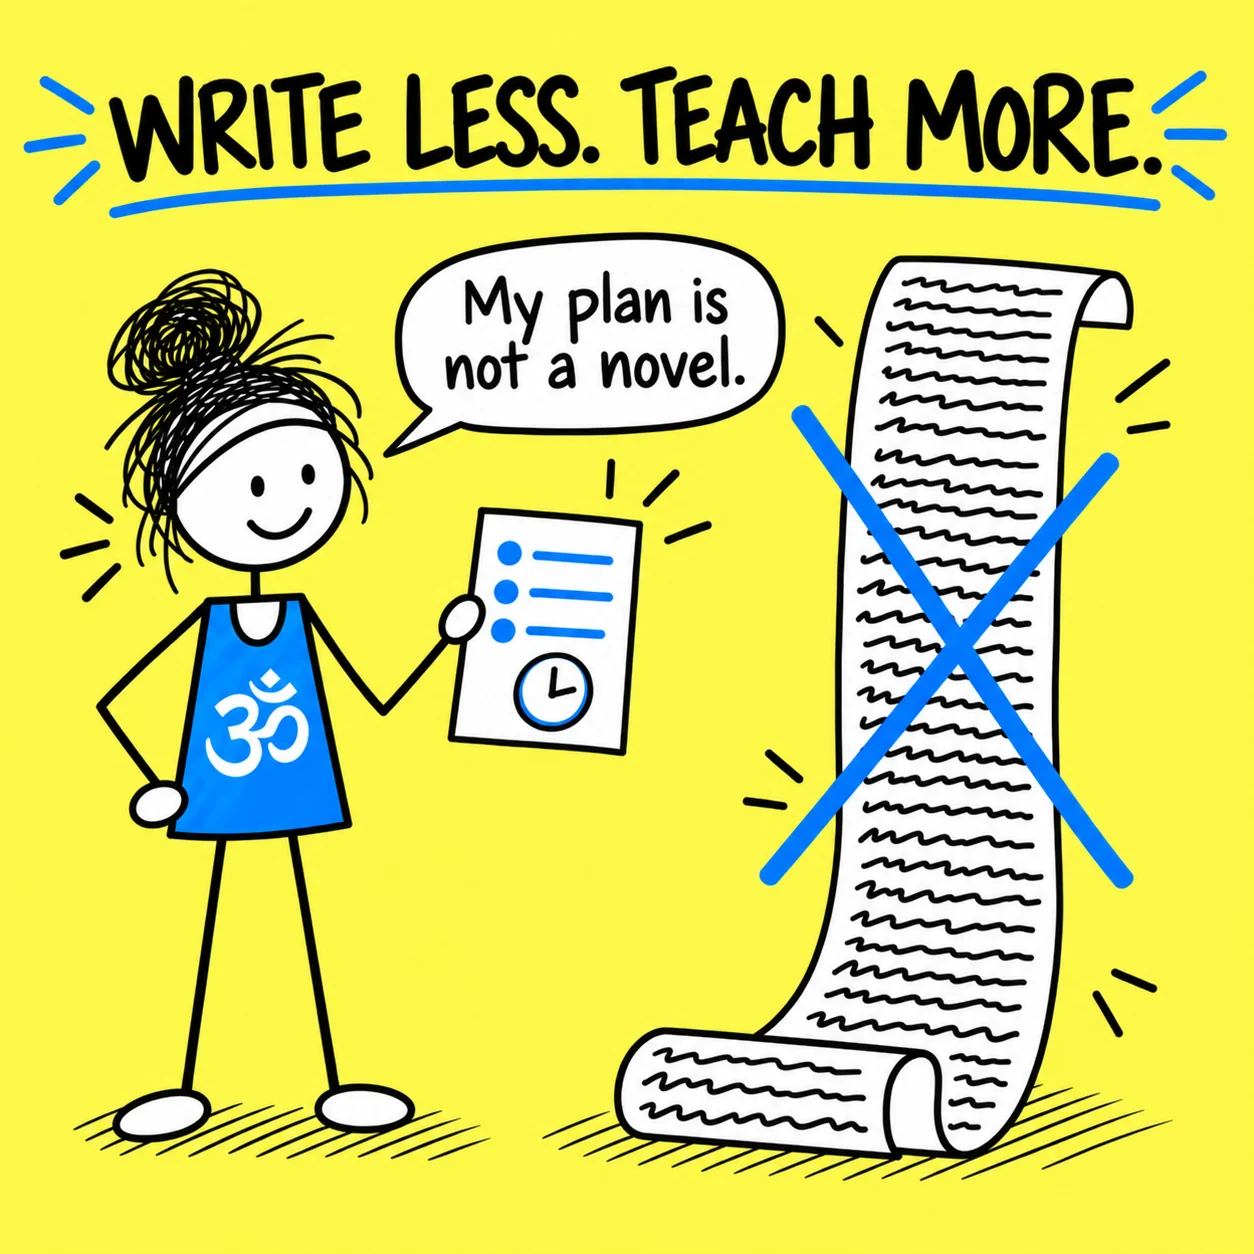
Write for teaching, not publishing. Your notes should help you see the route at a glance while leaving attention for the room.
My long planning note might explain why visual focus and foot pressure affect balance. The version beside Tree on my teaching page is shorter: “Chair nearby. Toes can stay down. Choose one steady point. Three breaths, then both feet to Mountain.” That line reminds me of the support, cue, timing and exit without asking me to read an essay while watching eight people wobble.
- Use short activity names. Choose labels you will recognise quickly while teaching.
- Write the purpose. A few words about why an activity is present can guide useful adaptation.
- Note the key cue. Record one or two essential directions instead of scripting every sentence.
- Separate action and choice. Make the main instruction easy to distinguish from optional variations.
- Mark the props. List equipment beside the activity that needs it.
- Add rough timings. Use timings as a map, not a reason to rush the people in front of you.
- Time the transitions. Allow for demonstrations, questions, moving props and changing levels.
- Protect rest on paper. Give the closing rest its own time rather than whatever survives.
- Write pronunciation help. Add a private phonetic note when using unfamiliar Sanskrit or another source language.
- Credit quotations. Record the author and source so the class does not turn attribution into a guessing game.
- Flag safety points. Place essential cautions where you will see them before the activity.
- Use visual landmarks. Headings, spacing, numbers and colour can make a plan easier to scan.
- Keep one page visible. Put the essential route where it can be viewed without constant scrolling or page turning.
- Create a short version. After planning in detail, make a compact teaching copy.
- Leave note space. Reserve room for what happened, what changed and what to try next time.
- Read it once. If the plan is hard to follow at your desk, it will not become clearer while teaching.
Back to the five-step formula ↑
Teach, Review and Reuse Tips 85–101
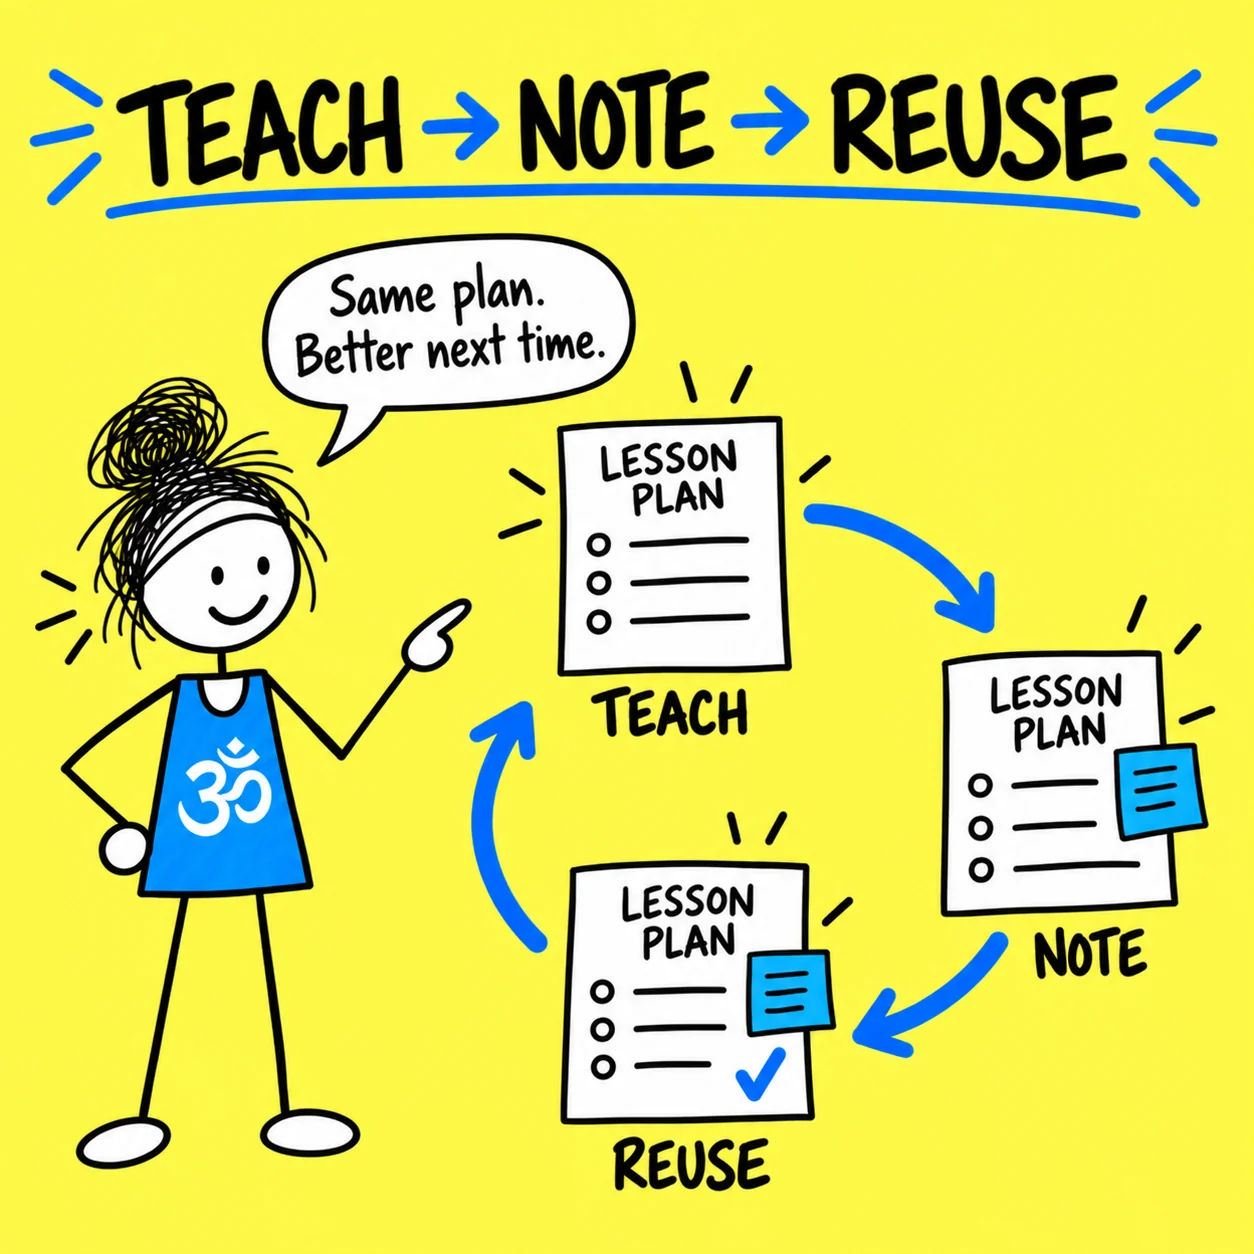
Let teaching improve the plan. A useful template becomes more valuable when you observe, annotate and reuse it thoughtfully.
After class I write three notes: “heel raises worked well”, “Warrior III felt rushed” and “students wanted longer rest”. For the next class I keep the arrival, give the supported hip hinge two extra minutes, remove the second Warrior III round and begin rest at 48 minutes. I have improved the plan using evidence from real students rather than inventing an entirely new sequence.
- Arrive with a plan. Preparation gives you a direction even when the class needs a different route.
- Observe before adding. Watch how students respond before introducing another cue or progression.
- Change the plan. Adaptation is teaching, not evidence that planning failed.
- Drop an activity. If time or energy changes, protect clarity and rest by doing less.
- Keep the purpose. When an activity changes, retain the useful question wherever possible.
- Notice the pace. Record where the class felt hurried, slow or comfortably spacious.
- Notice the transitions. Mark any change that caused uncertainty, crowding or unnecessary effort.
- Record useful options. Save the variation or prop setup that helped the group.
- Note what you skipped. An omitted activity may belong in another class rather than the bin.
- Review promptly. Two minutes of notes after class are worth more than a perfect memory next Thursday.
- Keep the strongest version. Update one master plan instead of collecting several nearly identical drafts.
- Reuse the structure. A sound class arc can support a new focus without rebuilding everything.
- Repeat across a course. Revisit a plan when repetition helps students learn, adding only purposeful changes.
- Vary one element. Change the focal task, support or teaching question while keeping the rest familiar.
- Build a small library. Organise reliable plans by group, purpose or class length so you can find them.
- Retire weak material. Archive a plan when it no longer reflects your training, students or teaching.
- Plan the next class. Use the final note from today as the first useful decision for next time.
Back to the five-step formula ↑
Free Ready-to-Use Yoga Class Plans
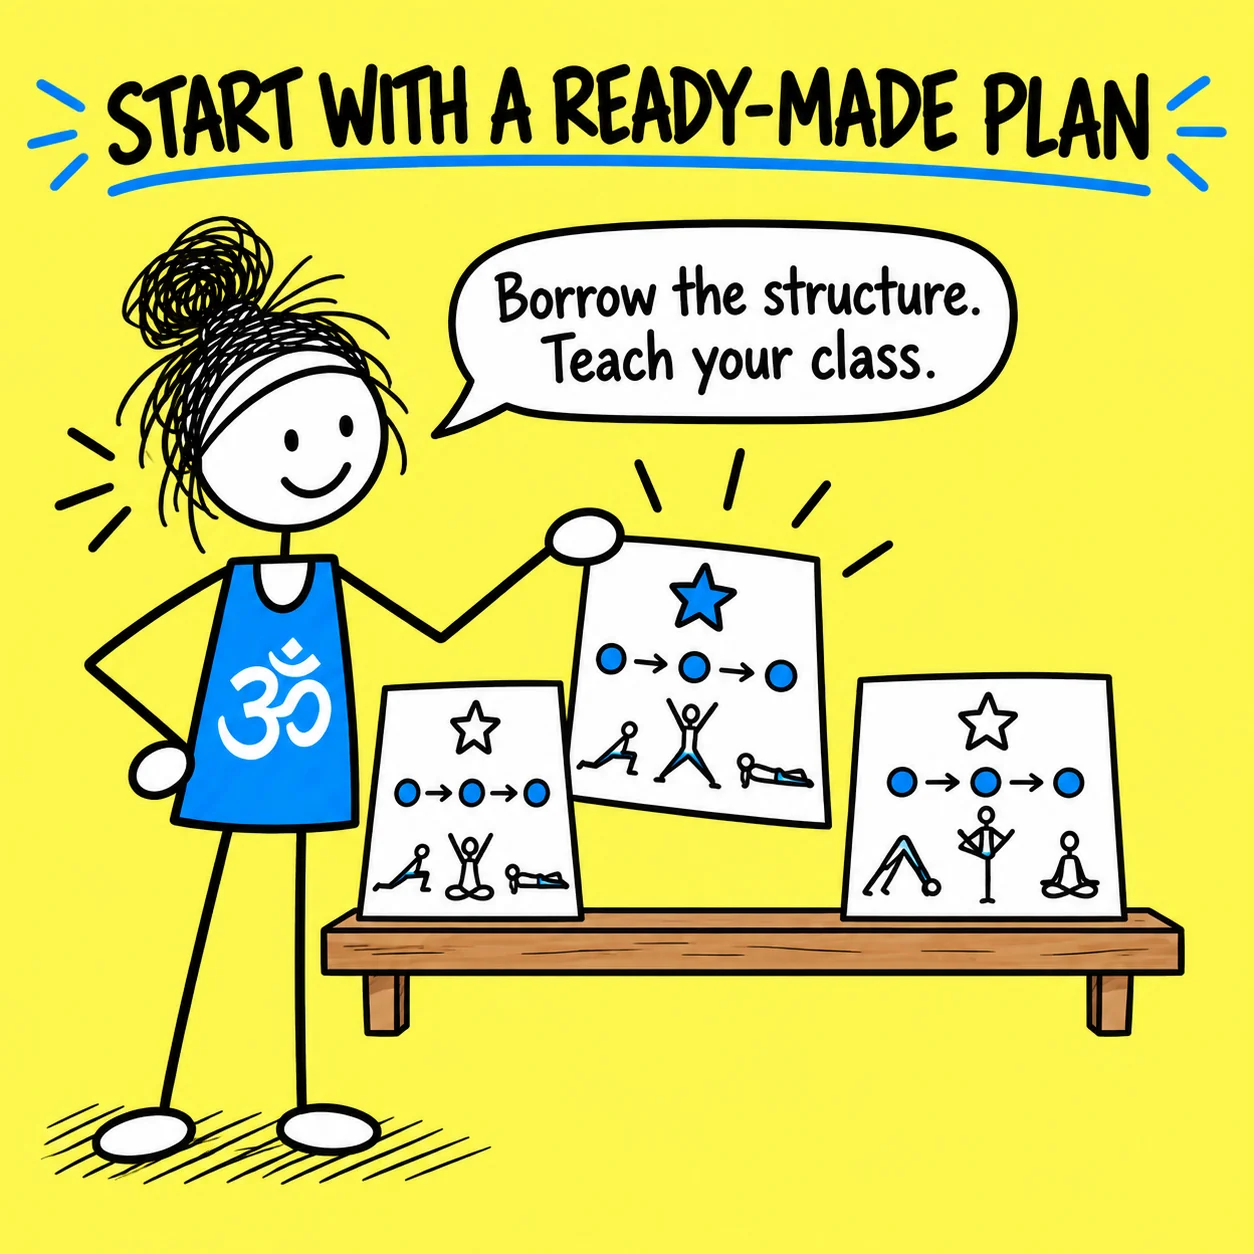
Borrow the structure. A ready-made plan can save time, but it still needs your judgement. Choose one that suits the class, check every activity, and adapt it to the students and your training.
Suppose I choose the Warrior class plan for a mixed Tuesday group. The plan includes several standing rounds, but two students prefer frequent support. I place chairs at the wall, shorten the stance in Warrior I, let hands stay on hips and remove one repeated flow. I have borrowed the useful Warrior structure without treating the downloaded page as an instruction from the yoga police.
Turn the Draft Into a Plan
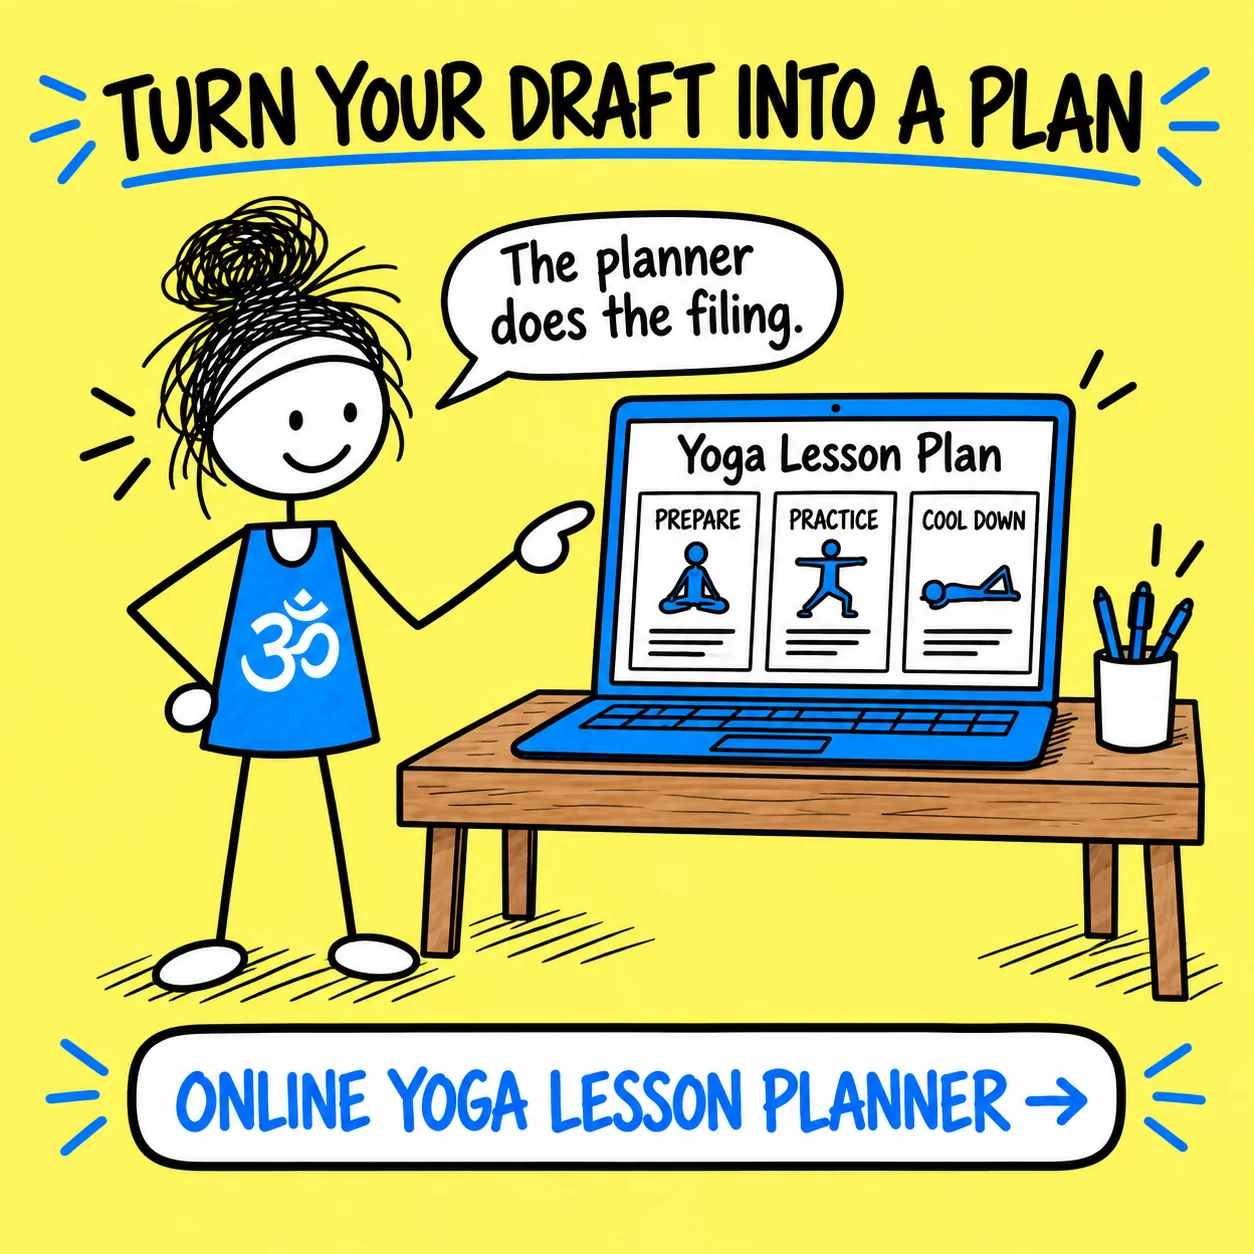
Keep everything in one place. The Online Yoga Lesson Planner lets you choose from thousands of poses, easily arrange sequences, and copy completed lesson plans to quickly create a 6 or 10 week course.
I could copy this week’s balance lesson to create Week 2, keep the familiar arrival and ending, then replace the central activities with supported side-to-side balance. For Week 3, I might keep the same class arc and explore stepping balance. The course feels connected, while each lesson gives students one clear new experience.
George’s Conclusion
A plan is a compass. It should help you make good decisions, not stop you noticing the room. Start with the students, choose one purpose, build a clear arc, write the options and leave enough time to rest.
Then teach it, scribble down what happened and make the next version better. That is how one useful plan becomes a small library—and how a small library saves you from negotiating with a blank page five minutes before class.