| Category: | Pilates Lesson Planner |
|---|---|
| Sub Category: | |
| Types: | Balance, Hip Opener, Standing, Stretch |
| Anatomy: | Arms & Shoulders, Core, Hamstrings, Hips, Knees, Psoas |
| Chakras: | Base, Heart Centre, Sacral Centre, Solar Plexus Centre |
| Therapy: | Back Pain, Poor Posture, Sciatica |
| Drishti: | Tip Of Nose |
| Dosha: | Kapha, Pitta |
| Meridian Lines: | Stomach |
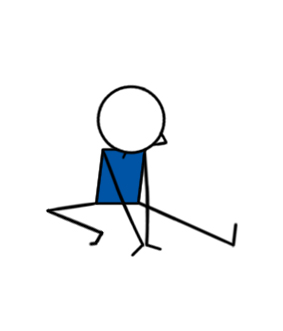
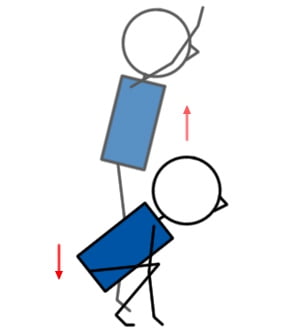
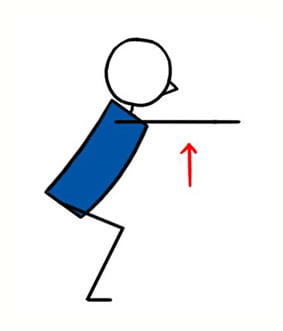
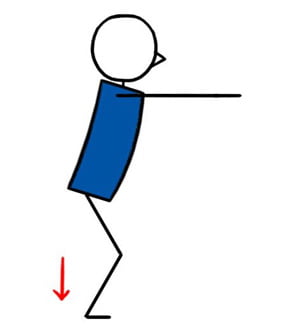
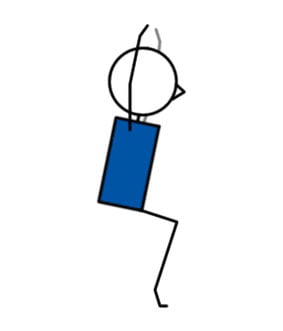
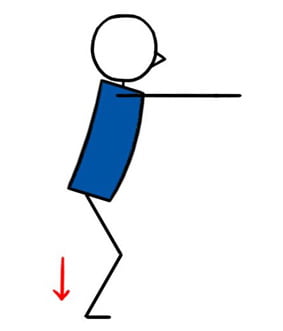
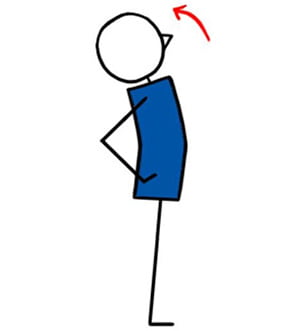
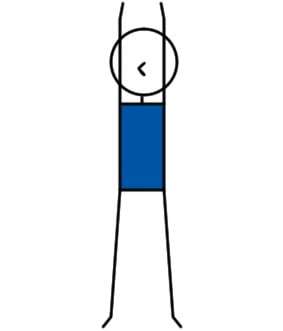
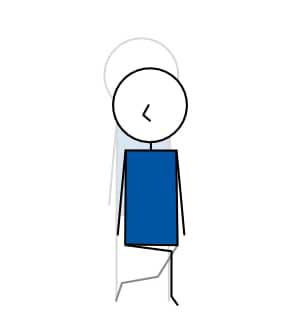
Right foot in front of left foot. Ball of right foot lined with left heel (15 inches between two feet). Turn knees out away from body so they align with big and second toe. Bend knees and lower body toward floor (heels will lift off floor). Lower as deeply as you can. Return to start.
Build strength, power, endurance.
A) Kick to the side. B) Bring the leg up in front of you with a bent knee and hold. C) Hold a single kettlebell in front of you at chest level. D) Hold one dumbbell in each hand.
Knee injury.
Click here for lots of FREE downloadable Yoga lesson plans.
Click here for lots of FREE downloadable Pilates lesson plans.
- Ask Genie1
- Ask Genie3
- Stretch and length
- All classes Feb/March 2022
- Thursday evening intermediate
- Spine
- Monday beginners/intermediate
- Wednesday 9.30
- Ask Genie2
- Newvic 2
- Parados y aro
- Basico e intermedio
- Spine copied lesson plan
- Standing matwork
- lesson 12
- Spine lesson plan
- Standing Matwork Exercises
- Mary
- Mini Ball Workout 1: 15 Exercises In 15 Minutes
- Mary April 2018
- Ask Genie1
- Ask Genie2
- Ask Genie1
- Ask Genie3
- New Year Lockdown 1
- Ask Genie1
- Ask Genie3
- Ask Genie5
- Ask Genie1
- Ask Genie3
- Ask Genie10
- Ask Genie1
- Ask Genie11
- Ask Genie2
- Ask Genie3
- Ask Genie12
- Ask Genie2
- Ask Genie1
- Ask Genie17
- Ask Genie18
- Ask Genie1
- Thursday zoom 25/08
- Ask Genie1
- Ask Genie2
- Ask Genie1
- Ask Genie4
- Mary—-
- Senior Mixed
- Ask Genie5
- Ask Genie1
- Power Pilates 1st February 2022
- Power Pilates 8th February 2022
- Ask Genie1
- Power Pilates - 29th March 2022
- Ask Genie3
- Mat Pilates Tuesday 17th May 2022
- Lower body bootcamp
- Ask Genie1
- Mat Pilates Tuesday 17th May 2022
- Lower body bootcamp
- Mat Pilates Tuesday 24th May 2022
- standing
- Power Pilates (Pilates Retreat) Sunday 5th June 2022
- Ask Genie1
- Standing Senior
- Ask Genie3
- Ask Genie4
- 4
- Ask Genie1
- Ask Genie2
- Ask Genie1
- Reformer class plan - 60min
- Ask Genie2
- Melissa Week 1
- Melissa Week 3 Studio
- Ask Genie1
- 21 matwork intermediate
- 21 matwork intermediate
- 20 min Intermediate Abs
- 36 pamoka Classical Mat
- 37 Full Body Bands Mixed Ability Lesson Plan
- Feb: 20-min Solar Plexus (curtsy)
- Feb 10m Psoas (curtsy)
- Ask Genie 1
- Feb: 30m Pilates I
- Full Body Band Lesson Plan
- Zoom Thursdays May 23
- Zoom Thursdays May 23
- Standing Mobility
- multi equipment October 23
- test 2
- Fredi2
- Pilates standing 1
- Ask Genie 1
- Ask Genie 1
- Christmas pilates
- Block 1.1
- Stick 1
- Stick 1
- Ask Genie 1
Curtsy Squat Pose FAQs
How can I add this exercise to my next Pilates lesson plan?
Curtsy squats (a.ka. Curtsy Lunges) are ideal for leg or core-themed Pilates lesson plans. You could add this exercise after a squat or lunge, to hit the leg and core muscles in a different way.
What are the teaching directions?
Stand with your feet shoulder-width apart. Arms by your sides. Putting your weight into your right foot, step back and around with your left foot — almost as if you’re curtsying — allowing your arms to come up in front of you to a comfortable position. Ensure that your chest stays proud. Stop lunging when your right thigh is parallel to the ground. Begin straightening your right leg, pushing up through your heel, and returning your left foot to the starting position. Repeat. Switch legs.
What key takeaways should I give my students for the Curtsy Squat?
Gaze: “Keep gaze stays directly ahead.”
Hips: “Keep your hips square with the rest of your body. If you twist your hips as you curtsy, you’ll lose the activation in your hips and glutes.”
Knee: “Do not let your knee fall over the toe line because this has the possibility to cause a knee injury. A good trick is to sit back in your hips to initiate the movement, preventing the knee from moving past the toe line.
Parallel: “Lower your thigh as close to parallel to the ground as it will go before returning to the start position.”
Upright Torso: “Keep your torso upright to activate your glutes. Be aware throughout the exercise that your chest remains upright.”
What are some variations of the Curtsy Squat that I can teach my students?
Kick
Step back and around for a Curtsy Lunge, but instead of returning your foot to the start position, kick it out to the side, dropping right back into the curtsy position.
Double Cross
Hold a dumbbell on your right shoulder with both hands. Step your right foot back and around for the Curtsy while at the same time bringing the weight down to your outside left thigh while extending your arms. Return to start.
Hold
Step back and around for a Curtsy Lunge. Bring the leg up in front of you with a bent knee and hold. Pause. Repeat.
Kettlebell
Hold a single kettlebell in front of you at chest level while doing a Curtsy Lunge.
Dumbbells
Hold one dumbbell in each hand (arms down by your sides) throughout the entire movement.
Barbell
Load a barbell onto your shoulders and do Curtsy Lunges.
Pilates Squat Pose FAQs
What are other names for Squat Pose?
- Deep squat pose
- Sitting down pose
What’s the most important thing to be aware of in a Squat pose?
Make sure that the knees are pointing in the same direction as your toes.
What should I be aware of when in a Squat pose?
Squat pose challenges will challenge your entire body because it requires mobility and stability in the ankles, knees, hips, pelvis, and spine.
When in the pose silently ask yourself these questions:
- How does it feel?
- Where do I feel it?
- Are my heels lifted (the goal is to have the heels down)?
- Are my ankles rolling in?
- Are my arches collapsed?
- Are my toes turning out excessively (or do they want to)?
- How do my knees look and feel?
- Are my knees collapsing in?
- Is one knee collapsing in more than the other?
- Is one hip closer to the ground?
- Am I leaning to one side?
- Is my spine straight, arched, or rounding forward?
- Is my tailbone tucking under excessively?
If my heels are lifted when in a Squat pose what does that mean?
If your heels are lifted, it usually indicates a limitation in the Achilles tendon and calves. Allow your heels to lift and over time, with regular practice, the heels will lower down to the floor. It may also indicate hamstring tightness, piriformis tightness, or weakness in the gluteus medius. An easy way to make the pose more accessible is to place a rolled-up towel or blanket under the heels for support. If your heels are close to the ground, try widening your feet and turning the toes out.
How wide should my stance be in a Squat pose?
Have fun experimenting with a wide and narrow stance to find the ideal Squat pose width for you. There is no one-size-fits-all.
If my heels are knees collapsed when in a Squat pose what does that mean?
If your knees are collapsed (hips are internally rotated), you may have weak gluteus muscles, tight adductors (inner thighs), or a tight iliotibial band (a band of fascia along the outside of the leg from the hip to the knee).
If my low back is arched excessively when in a Squat pose what does that mean?
If your low back arched excessively, you may have tight hip flexors that are compensating for weak core muscles.
If my spine is rounded forward when in a Squat pose what does that mean?
If your spine is rounded forward, you may have weak erector spinae muscles (iliocostalis, longissimus, and spinalis), a tight thoracic (middle) spine, or tight hamstrings.
If I lean to one side when in a Squat pose what does that mean?
Leaning to one side could mean that you have a stability problem or an asymmetry (two sides that are not the same) of the ankle, knee, or hip.
If one shoulder is higher than the other in a Squat pose what does that mean?
It’s common for the shoulder of our dominant side to be tighter, and less mobile.
What are some modifications to the Squat pose?
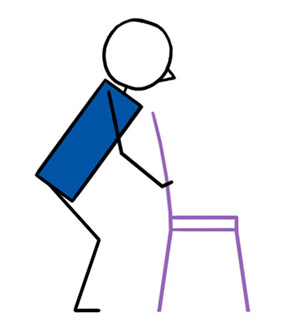
A) Sit on the front edge of a chair.
B) Folded blanket under heels.
C) Lift all ten toes up.
D) Bring arms to the tops of legs and reach outward.
E) Sit back against a wall like you are in a chair.
F) Add a twist.
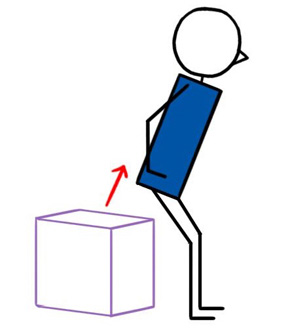
G) Sit on a block.
H) Roll a blanket and place it in the crease of both knees.


 Yoga Lesson Planner
 Pilates Lesson Planner
